Starting your spring vegetable garden from seed
A great garden starts with a little planning. UGA Cooperative Extension horticulture specialists provide expert advice on starting plants from seeds to get a head start for your best vegetable garden yet.


With temperatures swinging down around 30 degrees Fahrenheit in Georgia each night, it may not feel like spring is around the corner, but now is the perfect time to start preparing your vegetable garden.
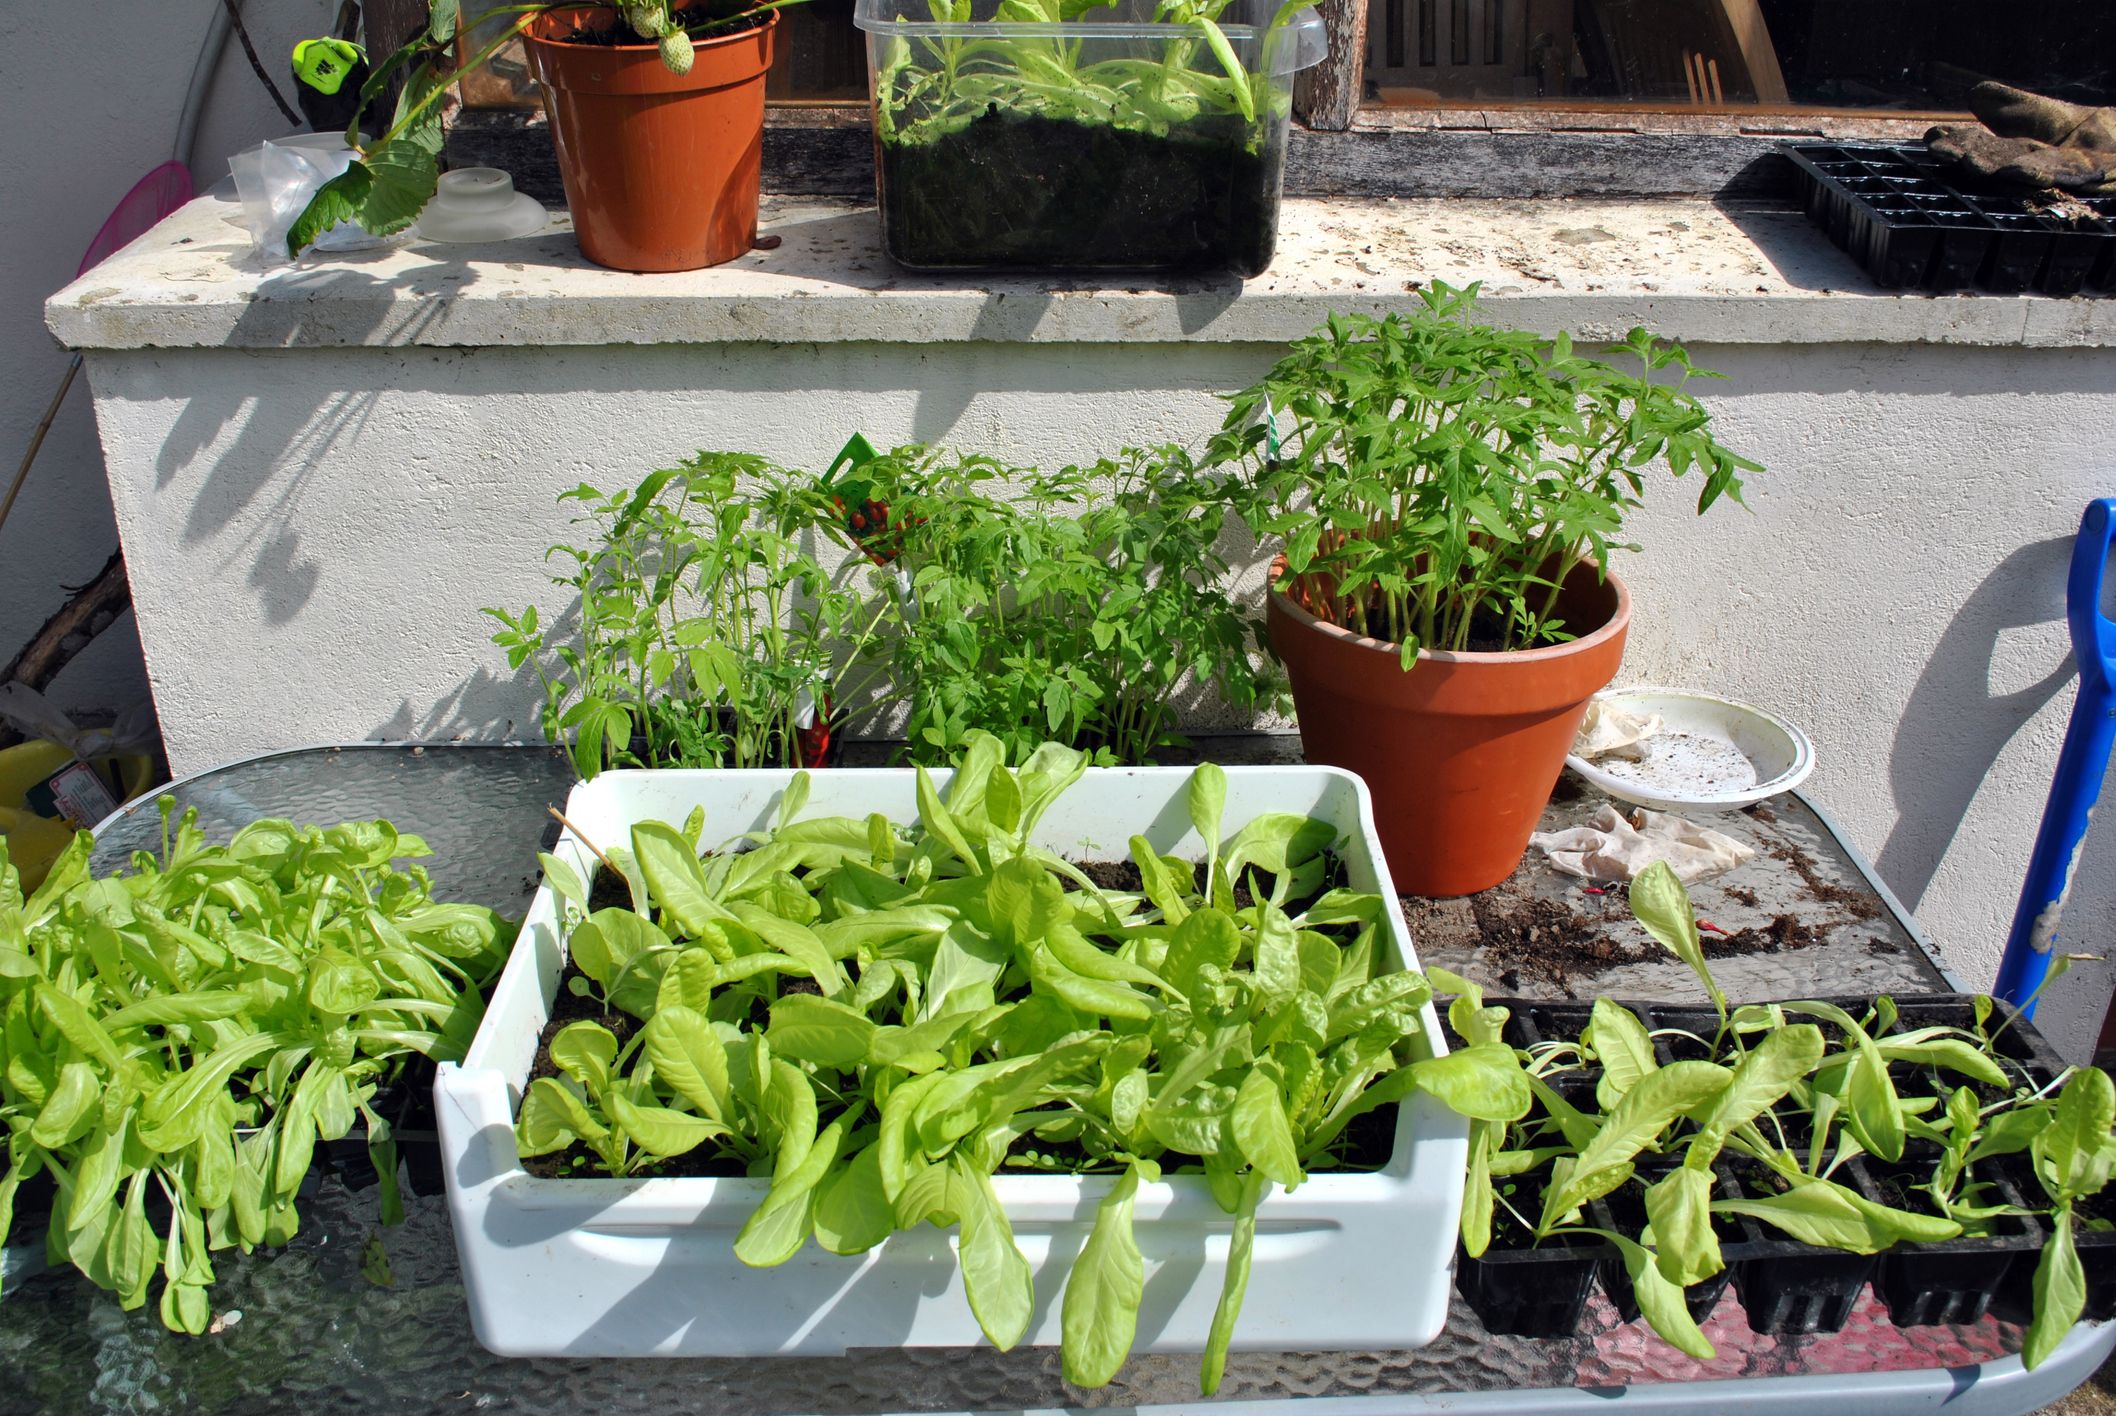
Starting seeds indoors can give you a jump on the growing season, helping you stay ahead of the stifling summer heat and the inevitable wave of insect pests. While the cold lingers, plenty of garden prep can be done indoors, including ordering seeds, mapping out your garden and purchasing supplies online or from your local gardening store. With mild afternoons upon us, you’ll be ready to tackle outdoor preparations.
To help you get the best results when starting seeds, we turned to three top experts from University of Georgia Cooperative Extension to set you up for success:
- Bodie Pennisi, Vincent J. Dooley Professor in the Department of Horticulture at the UGA College of Agricultural and Environmental Sciences
- Sheri Dorn, Extension specialist for consumer ornamental plants and state coordinator for the Georgia Master Gardener Extension Volunteer Program
- Bob Westerfield, a consumer horticulturist specializing in home vegetable gardening research
Don't need all the details? Check out the quick guide to starting seeds indoors at the end of this article. Want more? Refer to the UGA Extension publication “Starting Plants from Seed for the Home Gardener.”

1. Seed/plant selection
With seed catalogs arriving and local garden centers soon stocking vegetable plants, now is the perfect time to plan your garden. The UGA Extension resource “Best Garden Vegetable Varieties for Georgia” offers recommended varieties that have been trialed and proven to grow successfully in the state. While this isn’t an exhaustive list, it’s a great starting point for new gardeners. Keep in mind that some varieties may not be available at local garden centers, so checking online retailers and seed catalogs can help you find the perfect plants for your garden.
Select disease-resistant varieties. Choose high-quality seeds from a reliable dealer to ensure they are true to variety and free from contaminants. Look for varieties labeled as resistant to common pests and diseases, such as nematodes, powdery mildew or fusarium wilt, to minimize the need for chemical treatments. Select cultivars suited to your region that can withstand heat and thrive in local growing conditions. Store any leftover seeds in a cool, dry place to maintain their viability for future planting.
Choose the right planting time. Understanding a plant’s days to maturity is also essential, particularly for beginners or gardeners dealing with unpredictable weather. If starting seeds indoors for transplants, timing is key. Seedlings should be ready for the garden when soil temperatures are suitable, and the risk of frost has passed. Starting seeds too early may result in transplants outgrowing their containers before they can be safely moved outdoors.
In general, sow seeds six to eight weeks before transplanting. For instance, if your average last frost date is April 15, begin tomato seeds indoors in late February or early March. Properly timed warm-season crops (such as tomatoes and squash) will be garden-ready by spring, while cool-season vegetables (like broccoli and cabbage) should be planted early enough in the fall to establish and produce before the first frost. Following UGA Extension's “Vegetable Planting Chart” can help ensure better yields.
Think about space and growth habits. Once your seedlings are ready to be transplanted outdoors, you'll want to be sure you have the right space for them. Compact or bush varieties work well for small gardens or containers while vining crops like cucumbers and pole beans need trellises or extra space.
Match plants to your soil and light conditions. Most vegetables thrive with six to eight hours of full sun and well-draining soil. A soil test through your county Extension office can identify any necessary amendments to improve plant health before transplanting your seedlings outdoors.
Grow what you like to eat. It’s easy to get excited about new varieties, but focusing on vegetables you and your family enjoy will ensure your harvest gets used.
For more in-depth guidance, refer to UGA Extension’s “Home Garden” series, which covers topics like soil preparation, garden location, irrigation, pest management and fertilization.

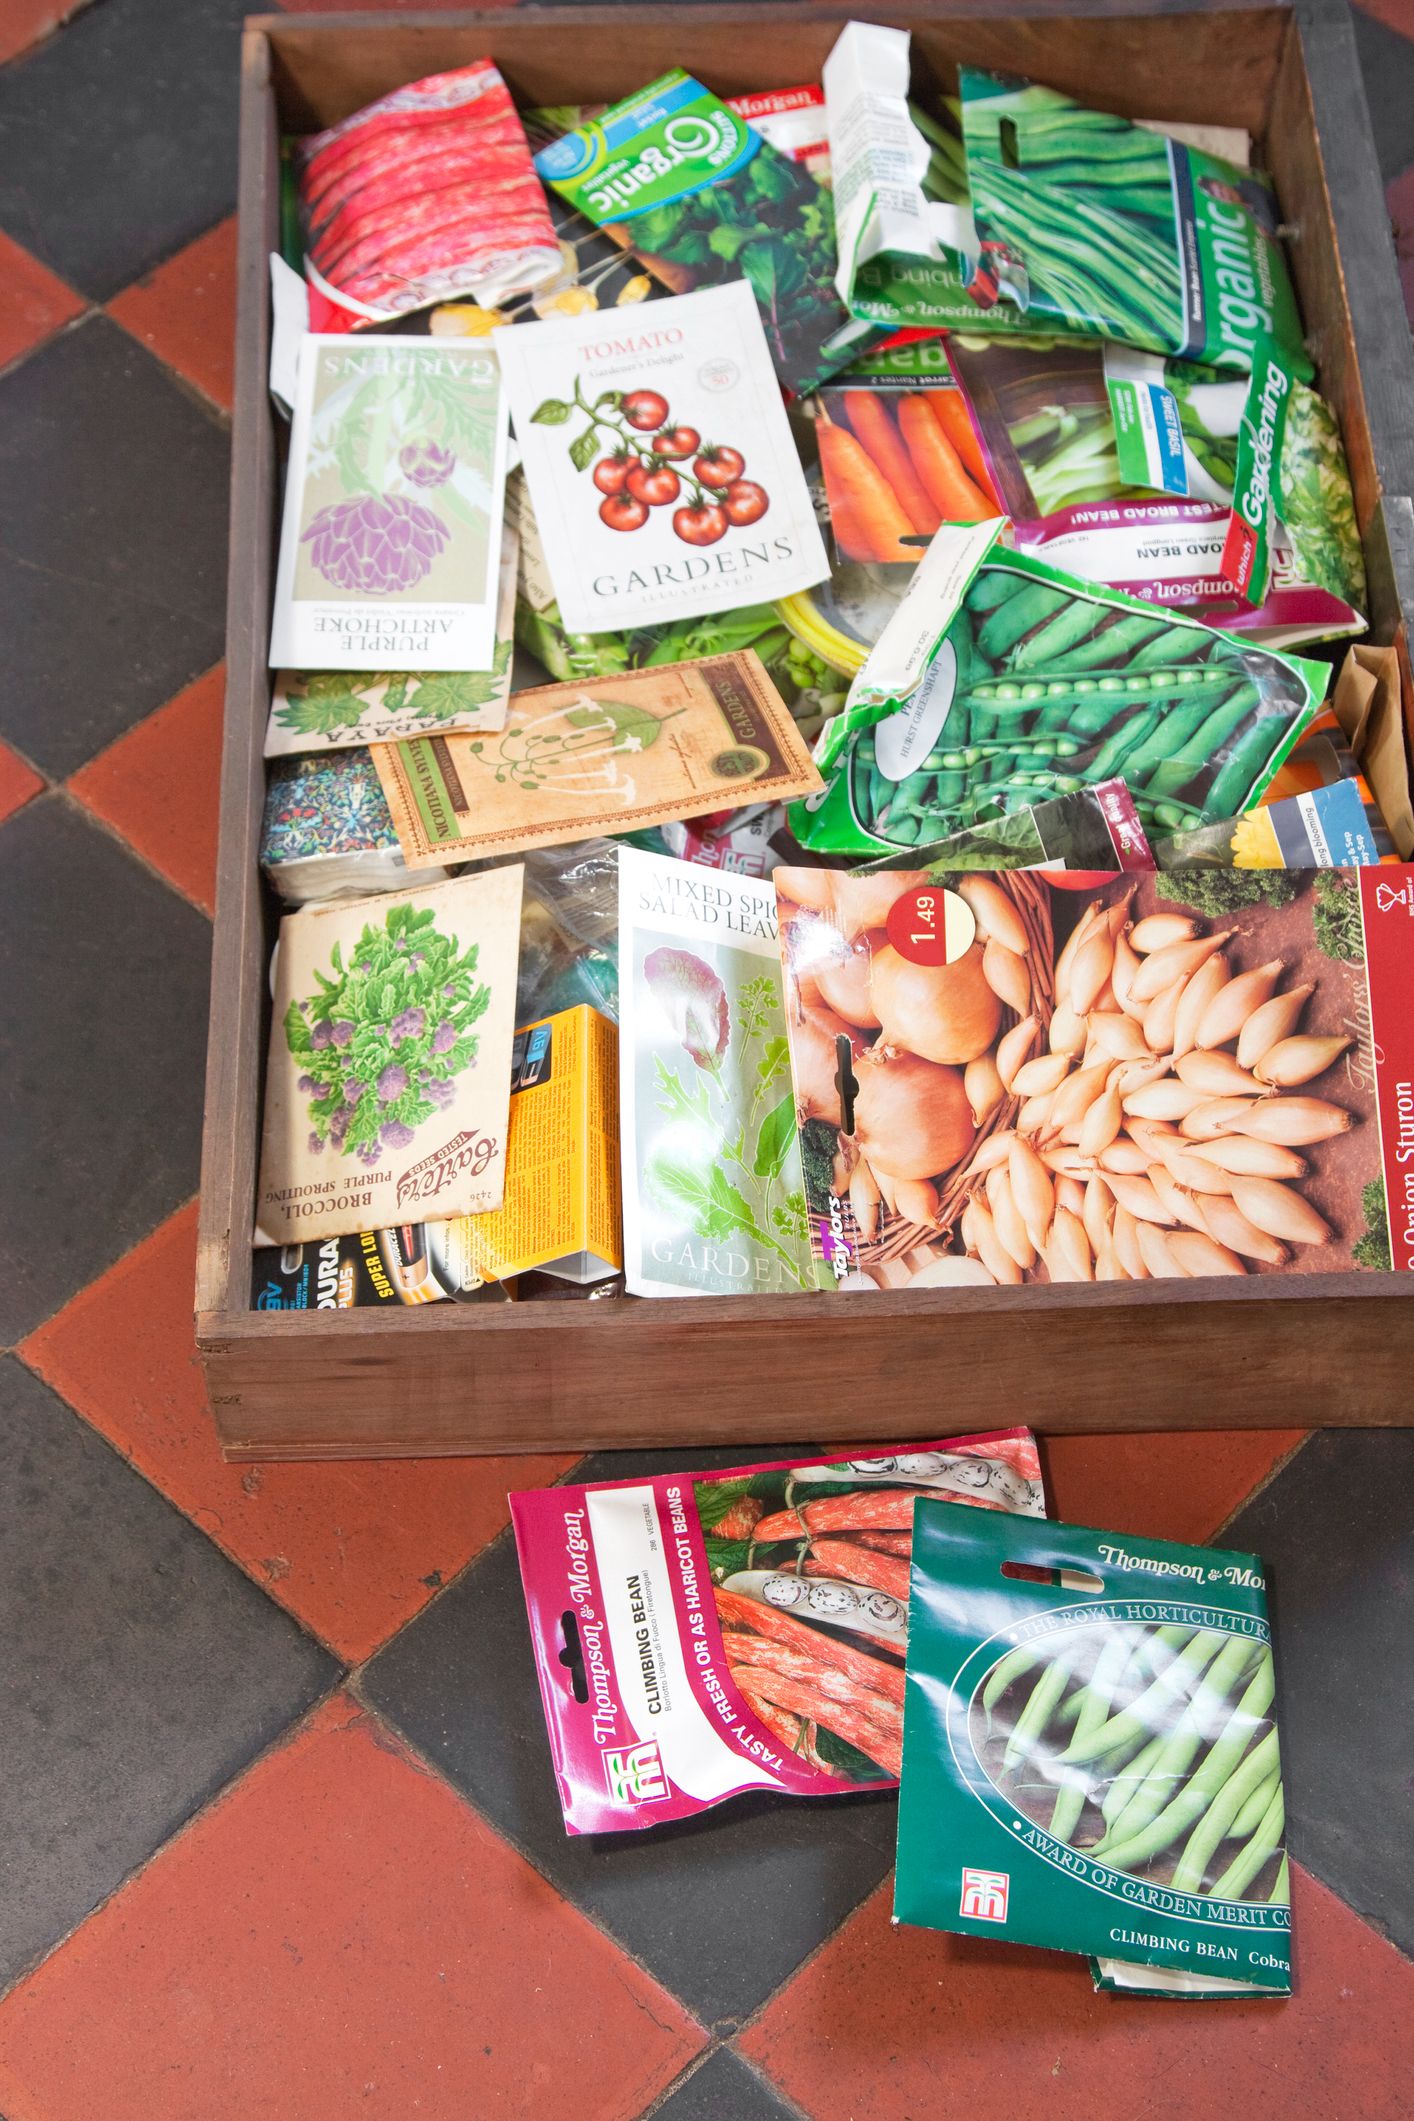
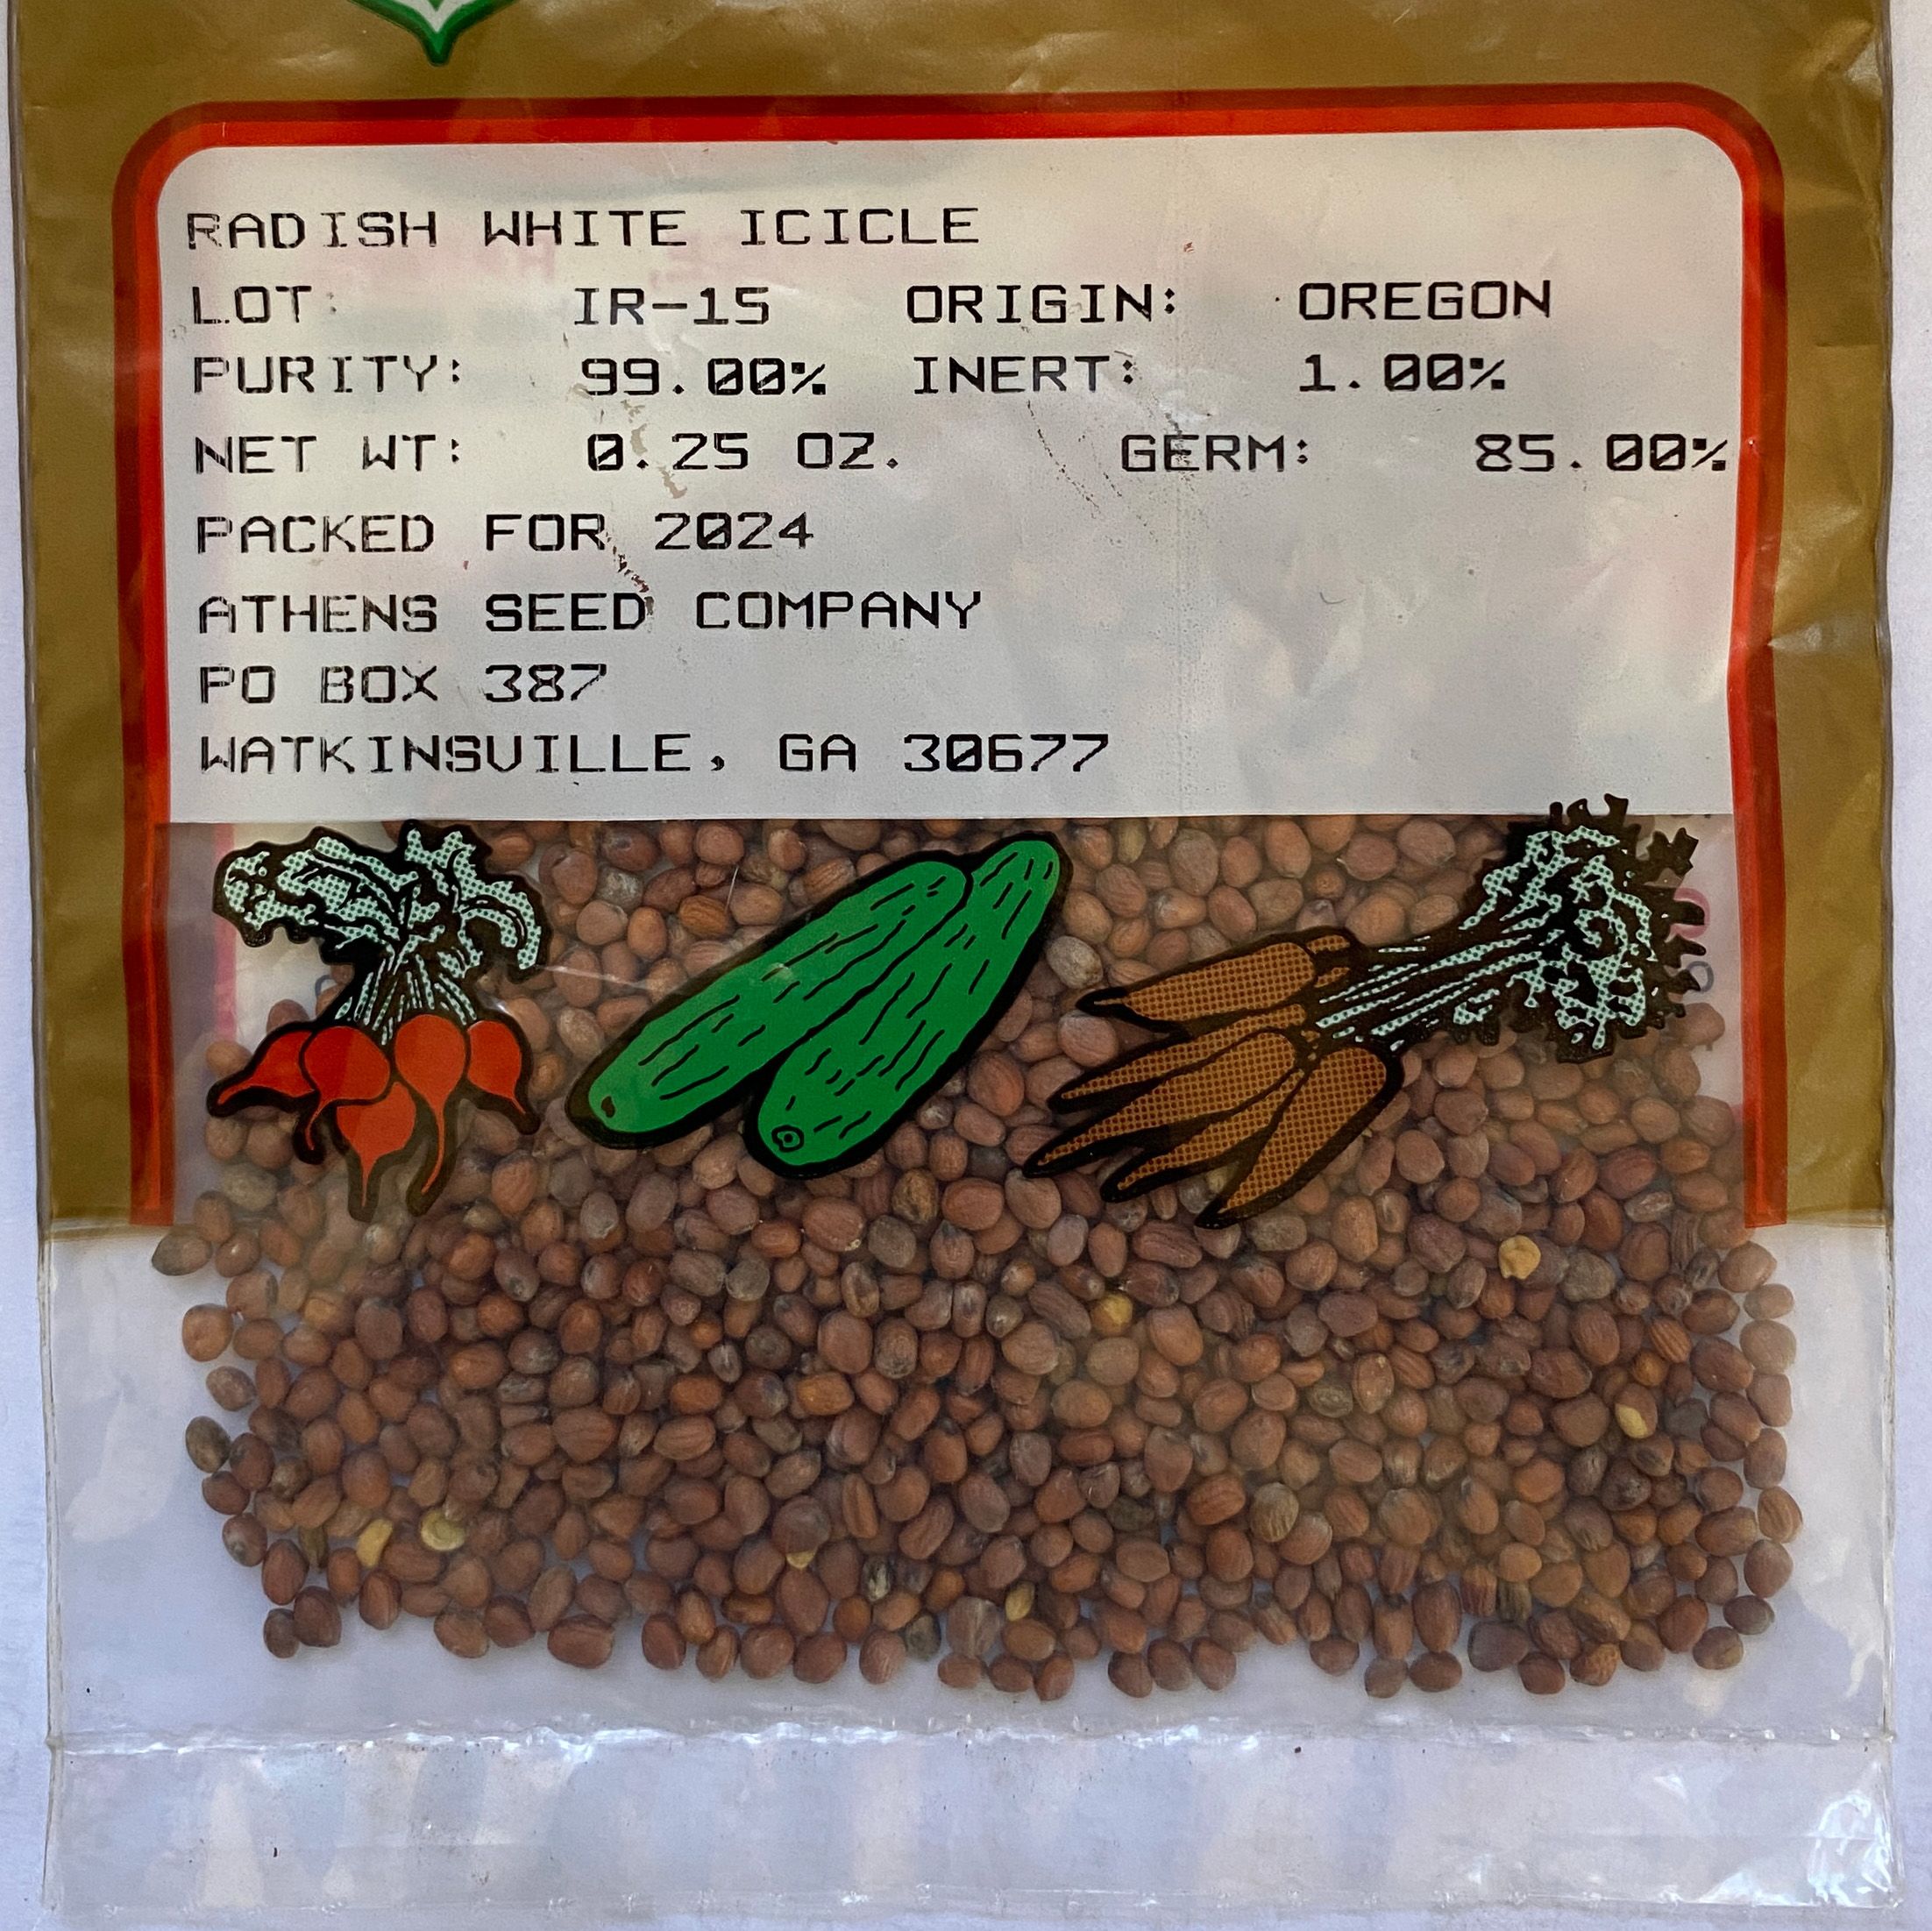
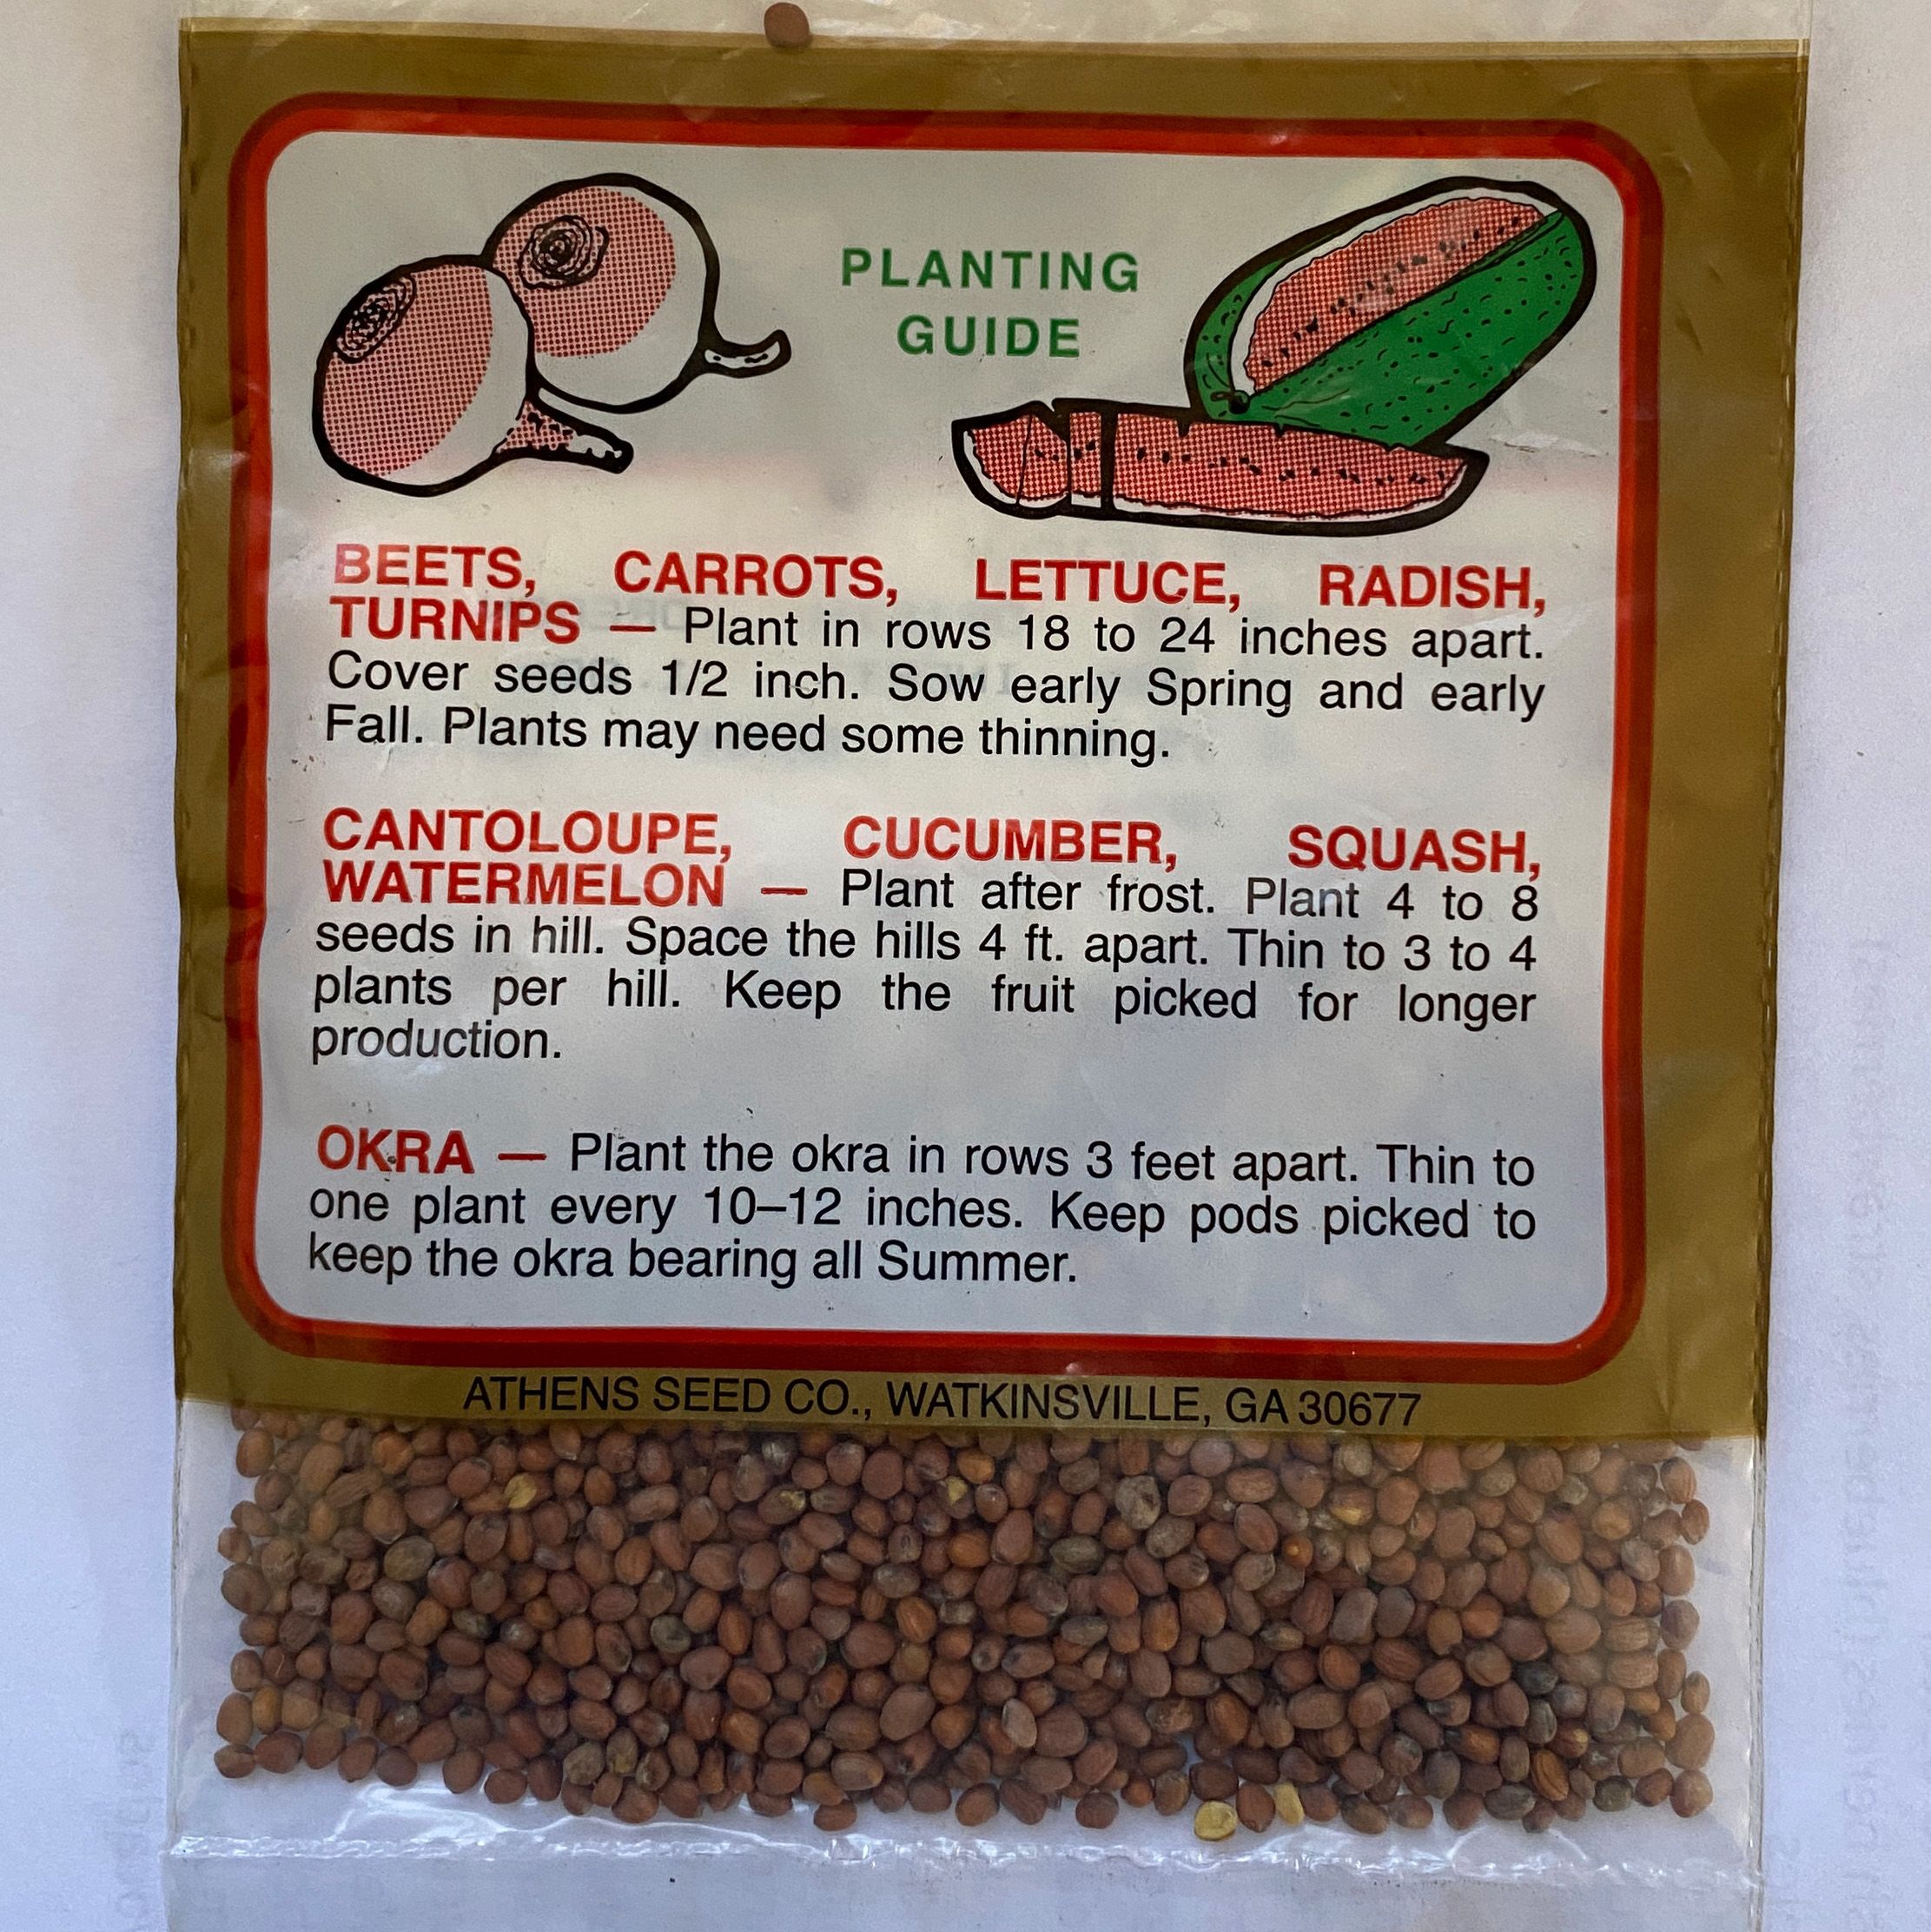
Seed packet information varies widely but contains valuable information, often including the packing year ("sell by" or "grown for"), spacing, planting depth, germination time and thinning instructions. Choose seeds packed for the current season and keep packets for future garden records.
Seed packet information varies widely but contains valuable information, often including the packing year ("sell by" or "grown for"), spacing, planting depth, germination time and thinning instructions. Choose seeds packed for the current season and keep packets for future garden records.

Additionally, seed packets typically indicate how far apart to space seeds within a row, the depth for sowing the seeds, days to germination and instructions for thinning seedlings. Keep seed packets on hand to reference when transplanting seedlings into the garden when they're ready.
Additionally, seed packets typically indicate how far apart to space seeds within a row, the depth for sowing the seeds, days to germination and instructions for thinning seedlings. Keep seed packets on hand to reference when transplanting seedlings into the garden when they're ready.

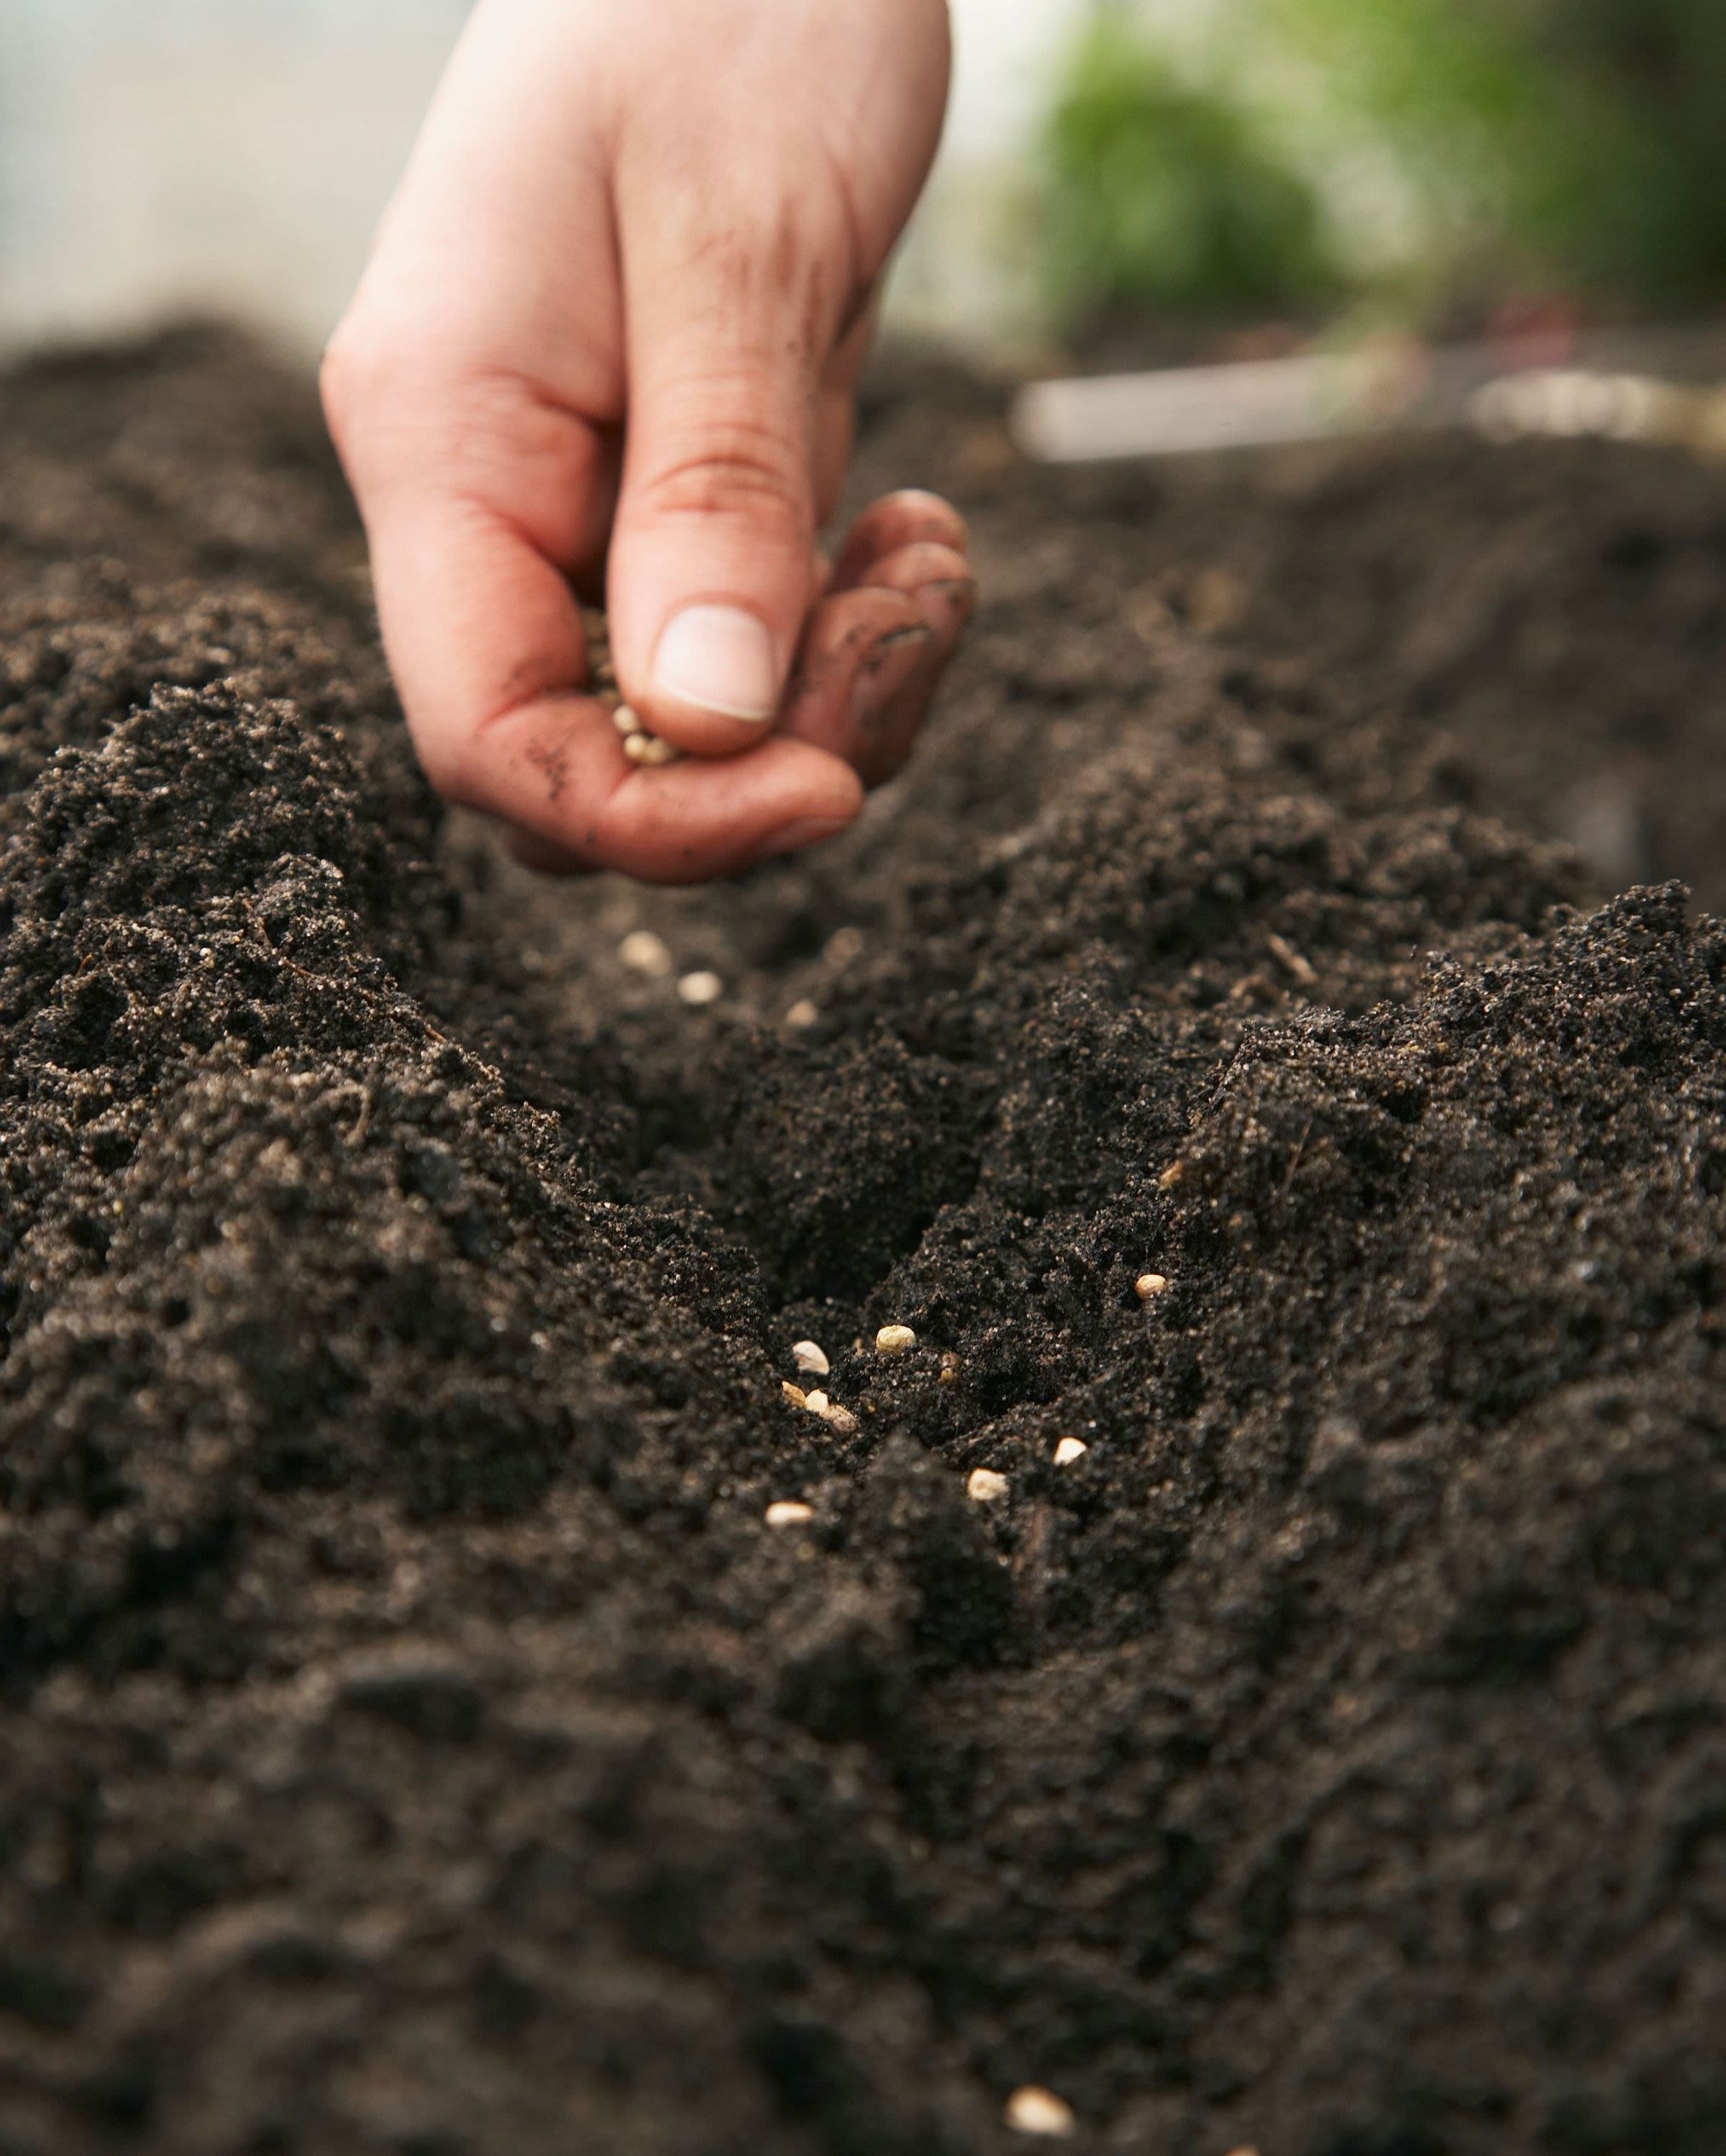
2. Transplanting vs. direct sowing
Seeds can be started in containers for later transplanting or sown directly in the garden. In general, plant seeds at a depth about twice their size. Very small seeds should be lightly pressed into the soil and barely covered.
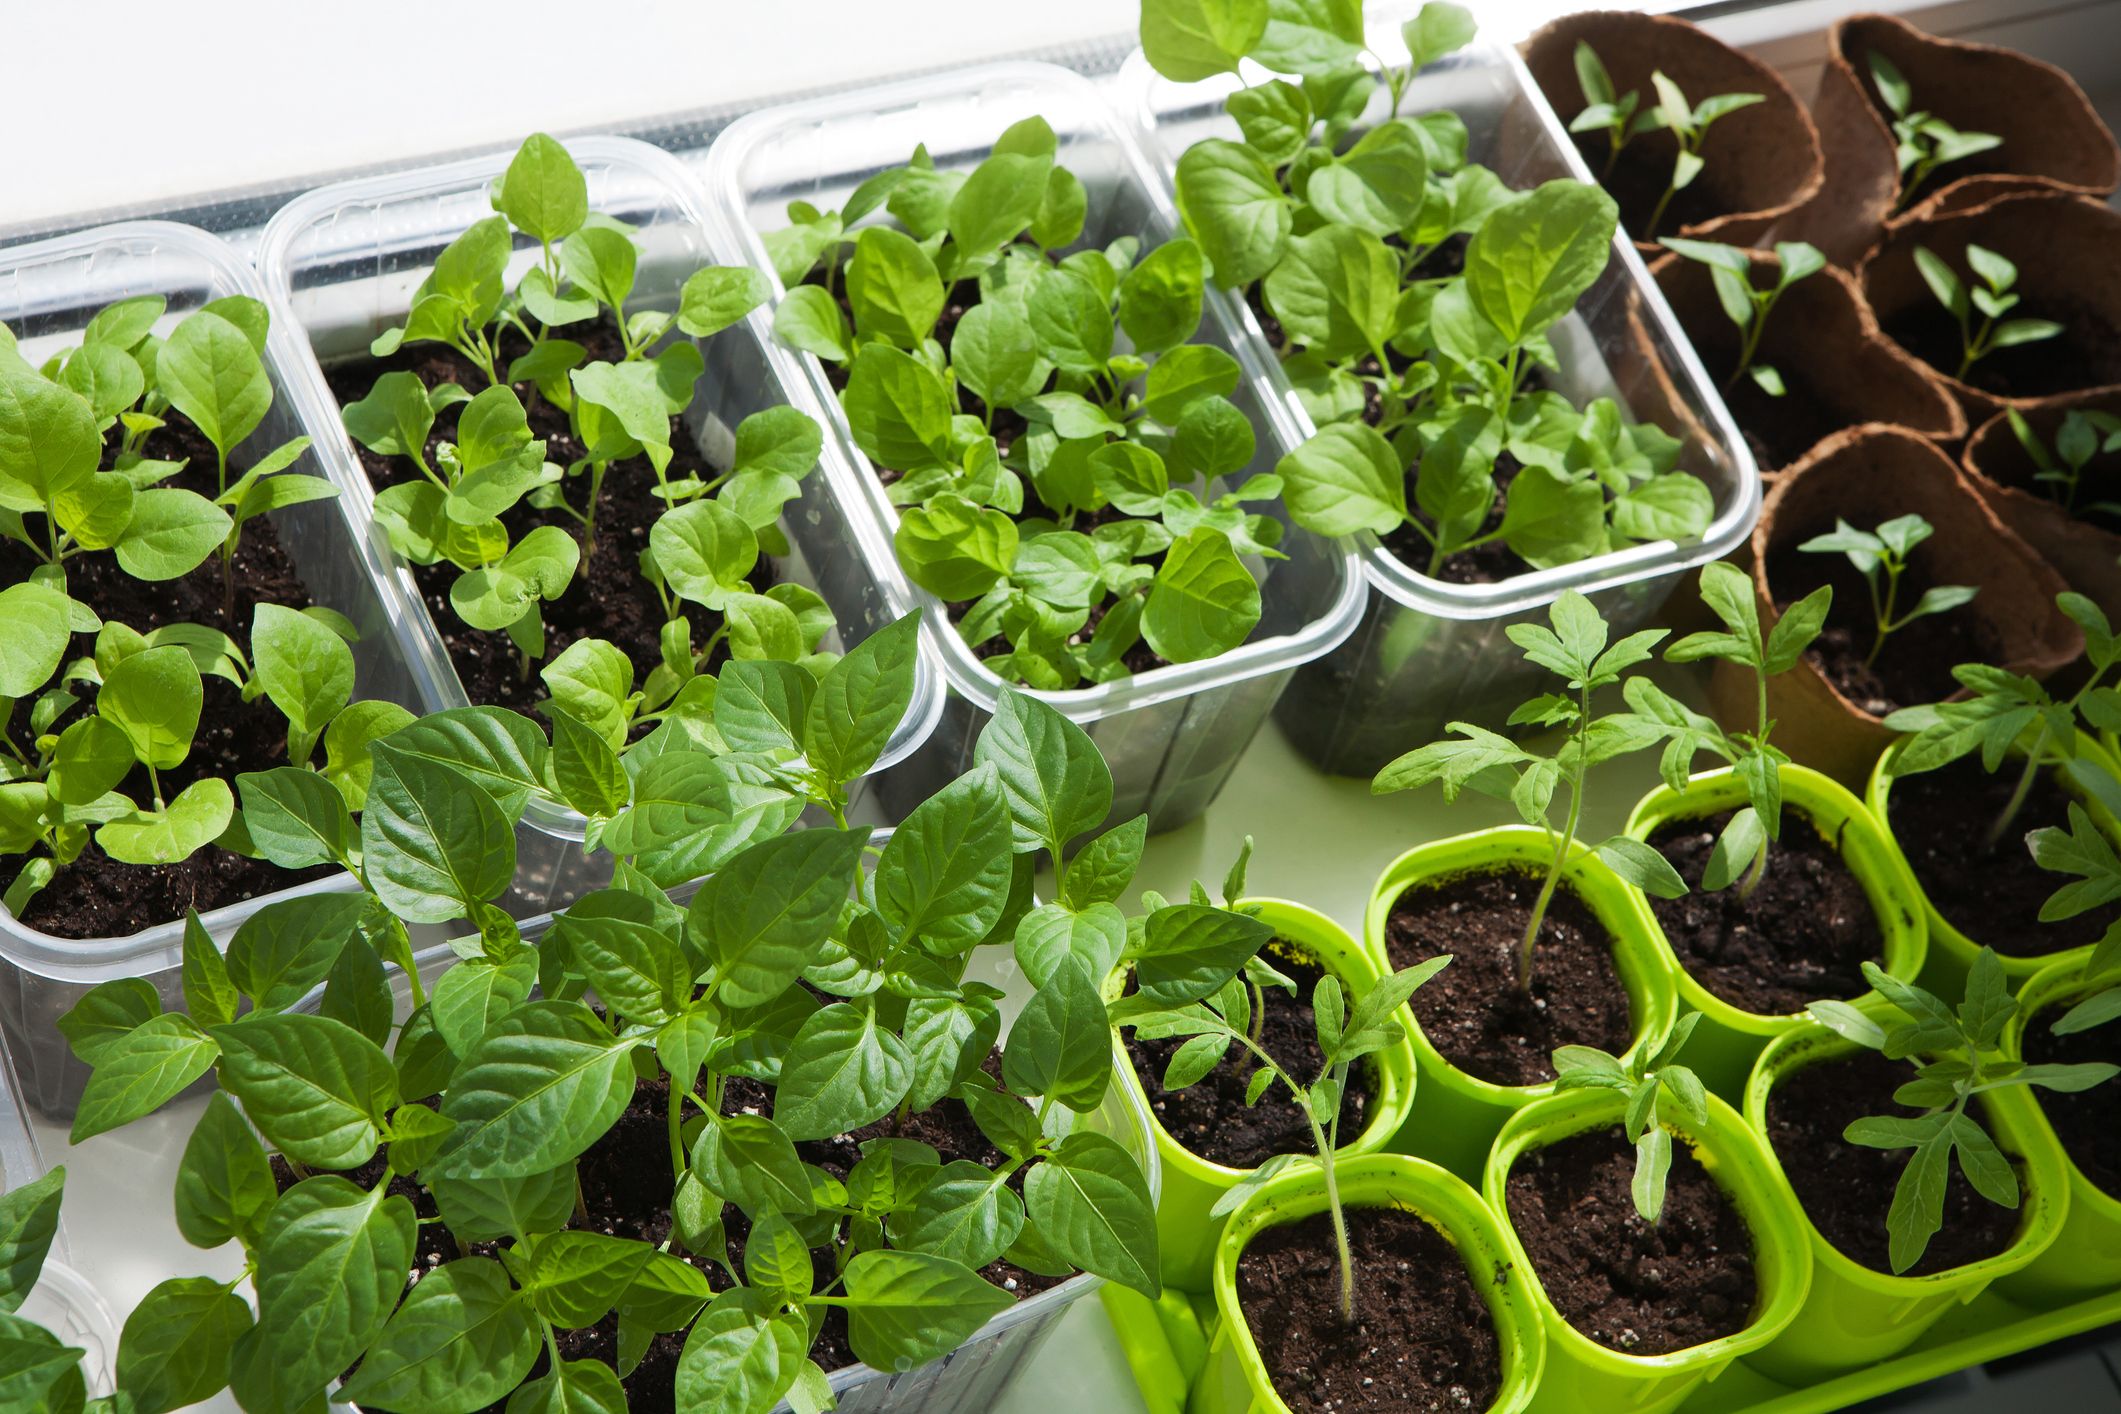
Transplanting has benefits including climate control, a longer growing season and better management of seedlings. It helps plants develop strong roots that absorb nutrients and moisture efficiently, while also protecting them from larger pests like crickets and pill bugs. Starting plants indoors or in containers lets you time their outdoor planting for optimal growth. This method improves survival rates, maximizes space and allows you to discard weak seedlings. Be sure to keep seed-starting media moist but avoid overwatering to prevent rot or disease.
Best for transplanting:
- Broccoli
- Cabbage
- Tomato
- Pepper
- Lettuce
- Chard
- Spinach
- Collard green
- Kale
- Strawberry
Some plants grow best when seeded directly into the garden or container. Direct seeding is particularly well-suited to plants with large seeds (like beans, corn and pumpkins) and root crops (like carrots and beets). Sow seeds directly into the container or ground where they will grow. Prepare a smooth seed bed and follow depth guidelines on seed packets.
Best for direct seeding:
- Carrot
- Radish
- Beet
- Okra
- Corn
- Squash
- Cucumber
- Melon
- Sugar snap pea
- Green bean
By choosing the right method for each plant, you’ll give your seedlings the best chance to thrive.

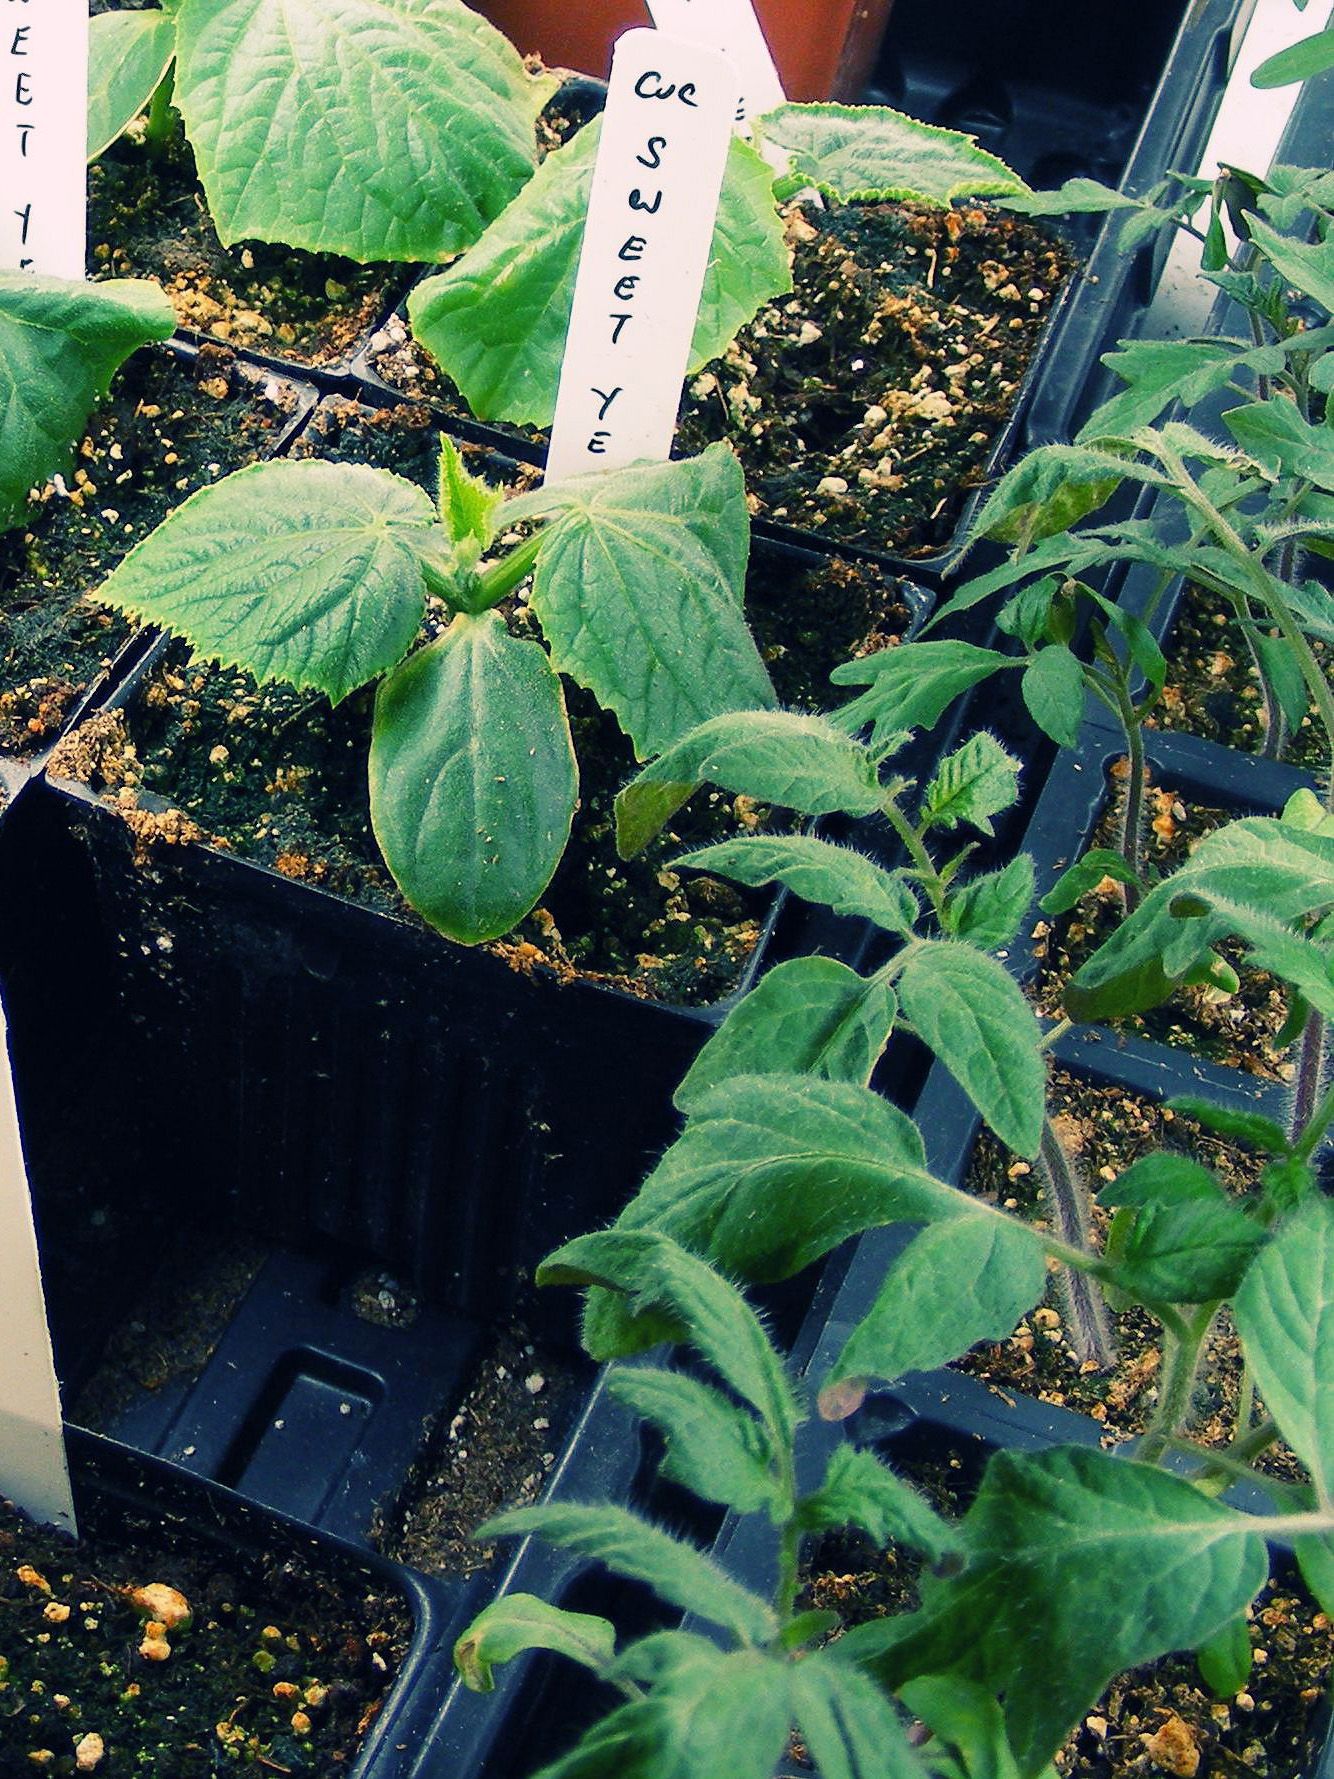
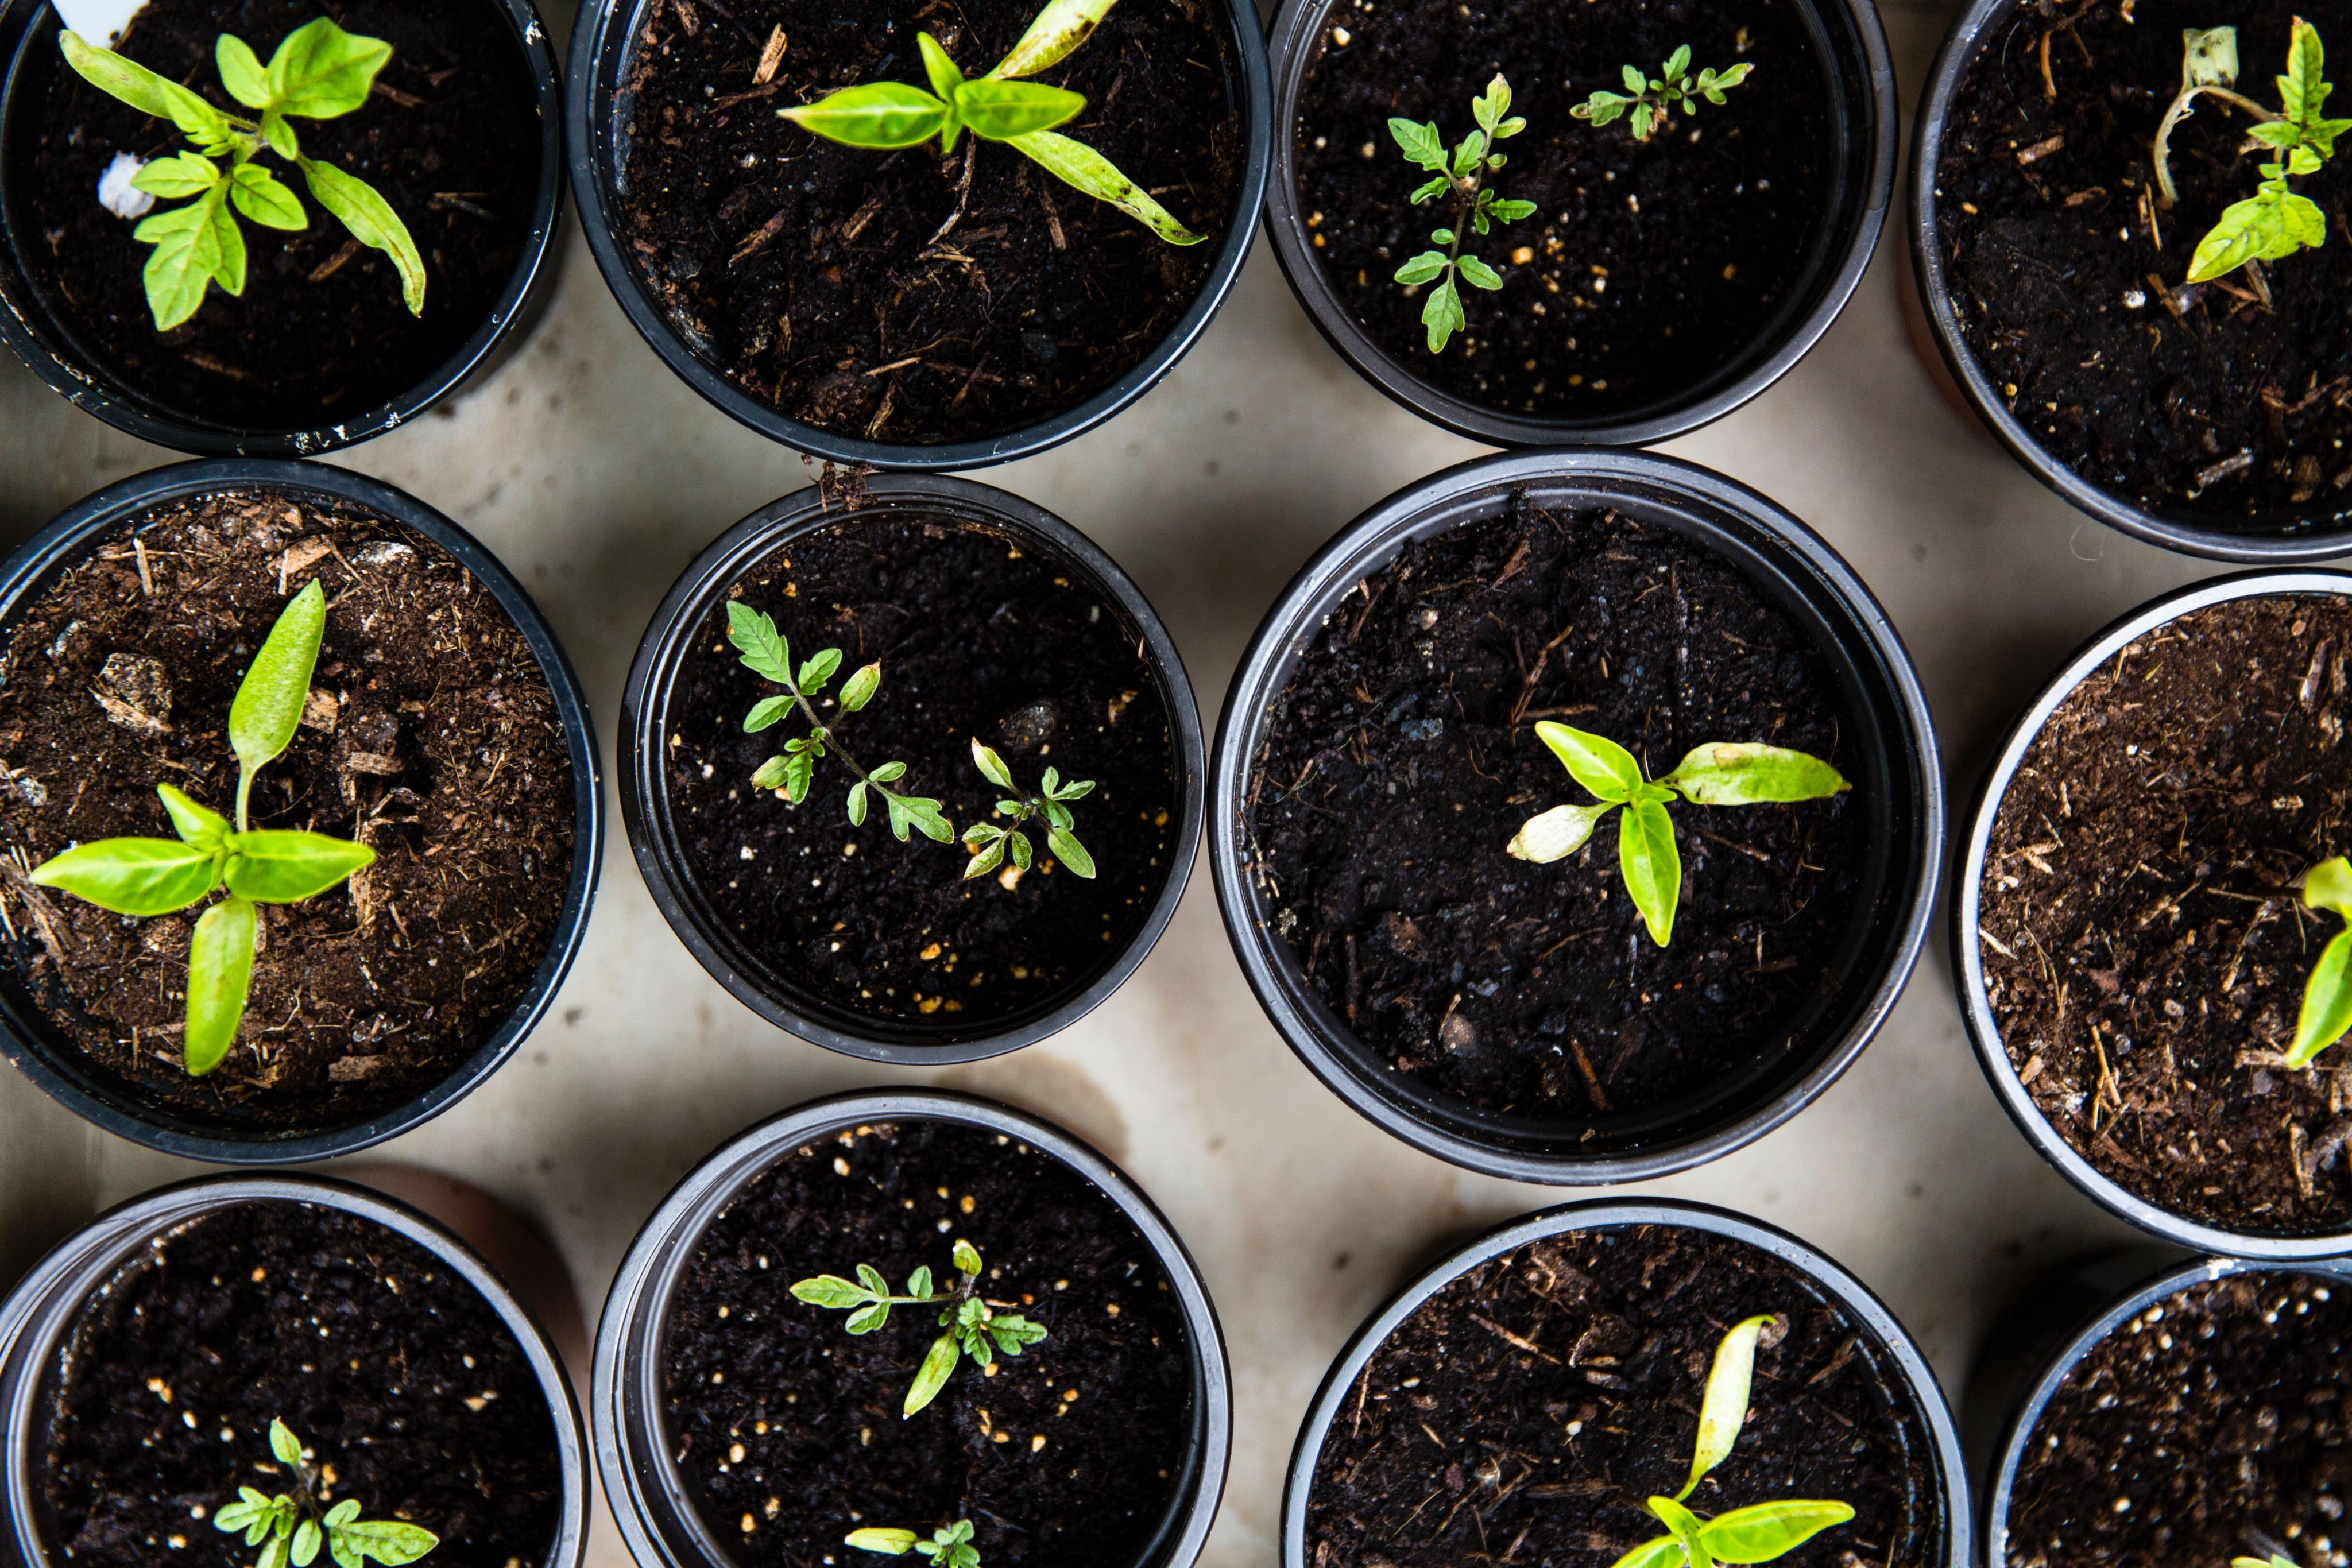
Expert tip: Label your seedlings as you plant them. Newly sprouted plants often look alike, and clear labels will save you time and guesswork later.
Expert tip: Label your seedlings as you plant them. Newly sprouted plants often look alike, and clear labels will save you time and guesswork later.

For most seeds sown directly into the soil, opt for loose, well-aerated soil to promote air circulation, water infiltration and healthy root growth. Avoid planting seeds too deep, as this can hinder germination. Check the seed packet for specific depth recommendations.
For most seeds sown directly into the soil, opt for loose, well-aerated soil to promote air circulation, water infiltration and healthy root growth. Avoid planting seeds too deep, as this can hinder germination. Check the seed packet for specific depth recommendations.

3. Gathering materials
Use a starting mix. For best results, use a sterile, soilless seed-starting mix rather than garden soil. Garden soil can be too heavy, hold too much water and may contain weed seeds or diseases that can harm young seedlings. A good seed-starting mix is light, fine-textured and uniform to ensure good seed-to-soil contact.
Many commercial seed-starting mixes contain peat moss, perlite and vermiculite, which provide the right balance of moisture retention and drainage. For experienced gardeners, garden centers offer materials to create custom potting soil. Try mixing shredded sphagnum peat moss with fine vermiculite, then add a small amount of superphosphate and ground limestone to balance nutrients. Before planting, wet the mix completely and let it sit for a few days to create the best conditions for seedling growth.
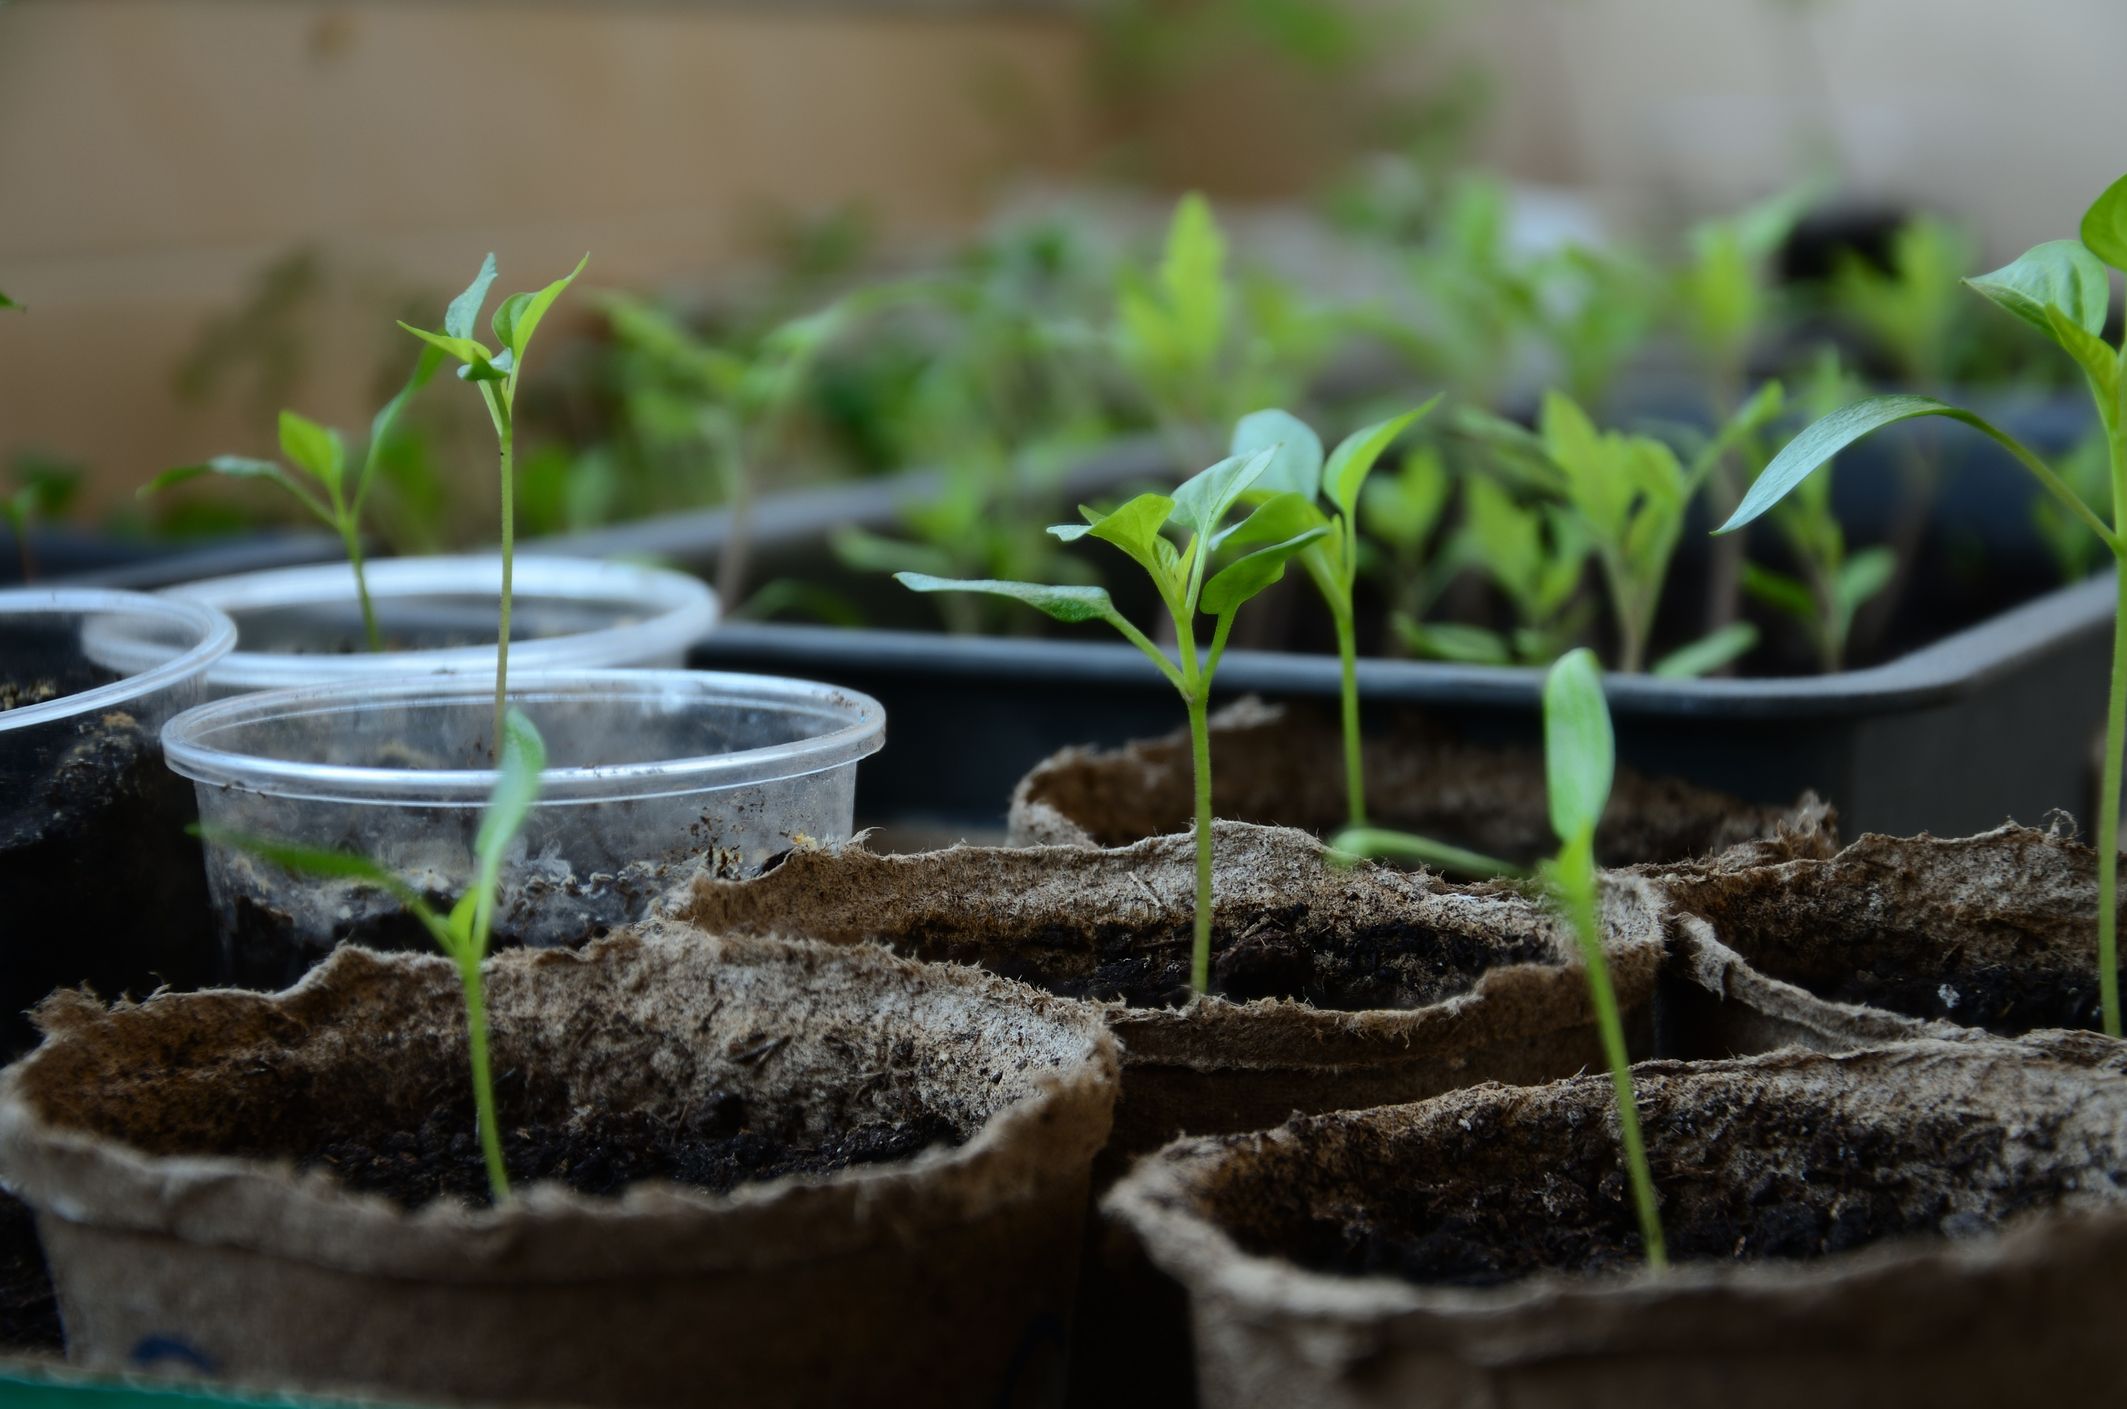
Use clean, well-draining containers. Any container can be used for starting seeds as long as it drains well, is deep enough for root growth and is sanitized before use. Plastic trays, fiber pots and peat pellets are popular choices, but you can also repurpose items like salad boxes or muffin containers — just be sure to add drainage holes. Clear plastic containers with lids act as miniature greenhouses, creating a humid environment ideal for germination.
For easy transplanting, consider peat pellets or individual cell trays, which minimize root disturbance. If reusing containers, sanitize them by washing away debris and soaking them in a 1:9 bleach-to-water solution, then rinsing thoroughly. Clean containers and sterile seed-starting mix help prevent fungal diseases that can harm young seedlings.


Use a sterile, soilless mix for seed starting as garden soil is too heavy and may contain weeds or disease. Commercial mixes with peat moss, perlite and vermiculite balance moisture and drainage, or make your own with peat and fine vermiculite. Pre-wet before planting for better germination.
Use a sterile, soilless mix for seed starting as garden soil is too heavy and may contain weeds or disease. Commercial mixes with peat moss, perlite and vermiculite balance moisture and drainage, or make your own with peat and fine vermiculite. Pre-wet before planting for better germination.
Use any container with good drainage and enough depth for roots. Plastic trays, fiber pots and peat pellets work well, or repurpose items like salad or muffin containers. Just be sure to add drainage holes.
Use any container with good drainage and enough depth for roots. Plastic trays, fiber pots and peat pellets work well, or repurpose items like salad or muffin containers. Just be sure to add drainage holes.

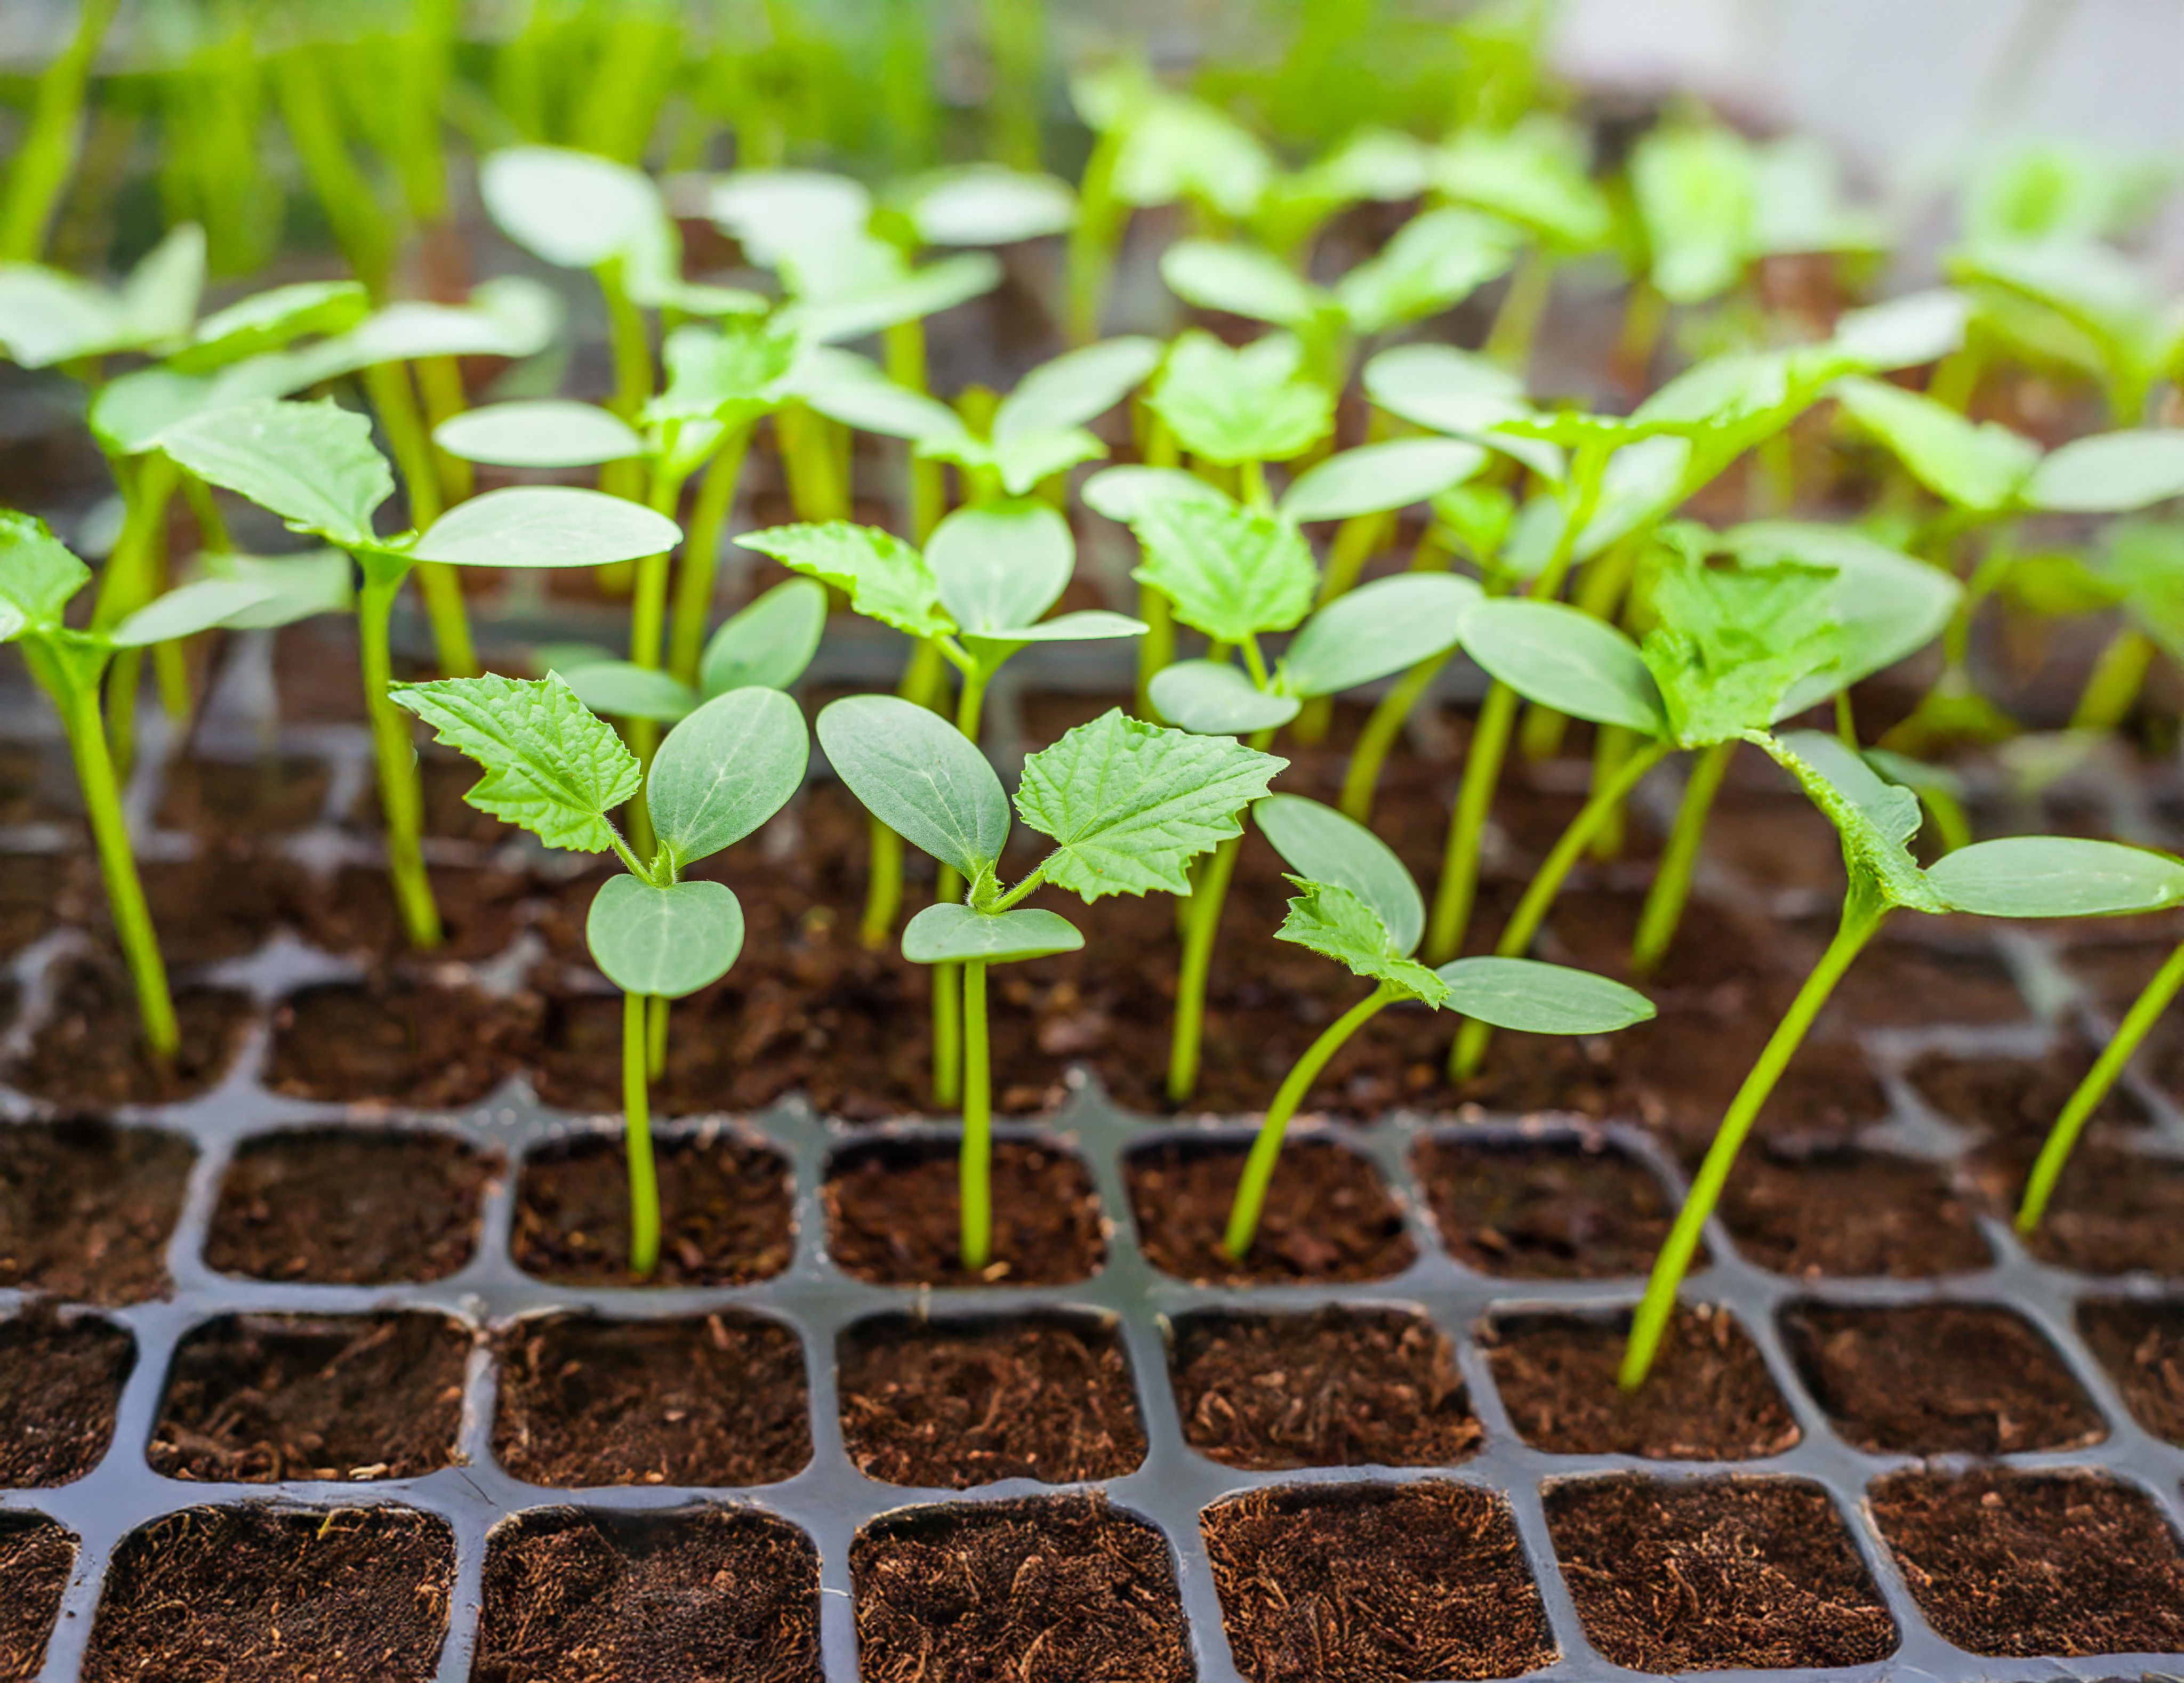
4. Germinating seeds indoors
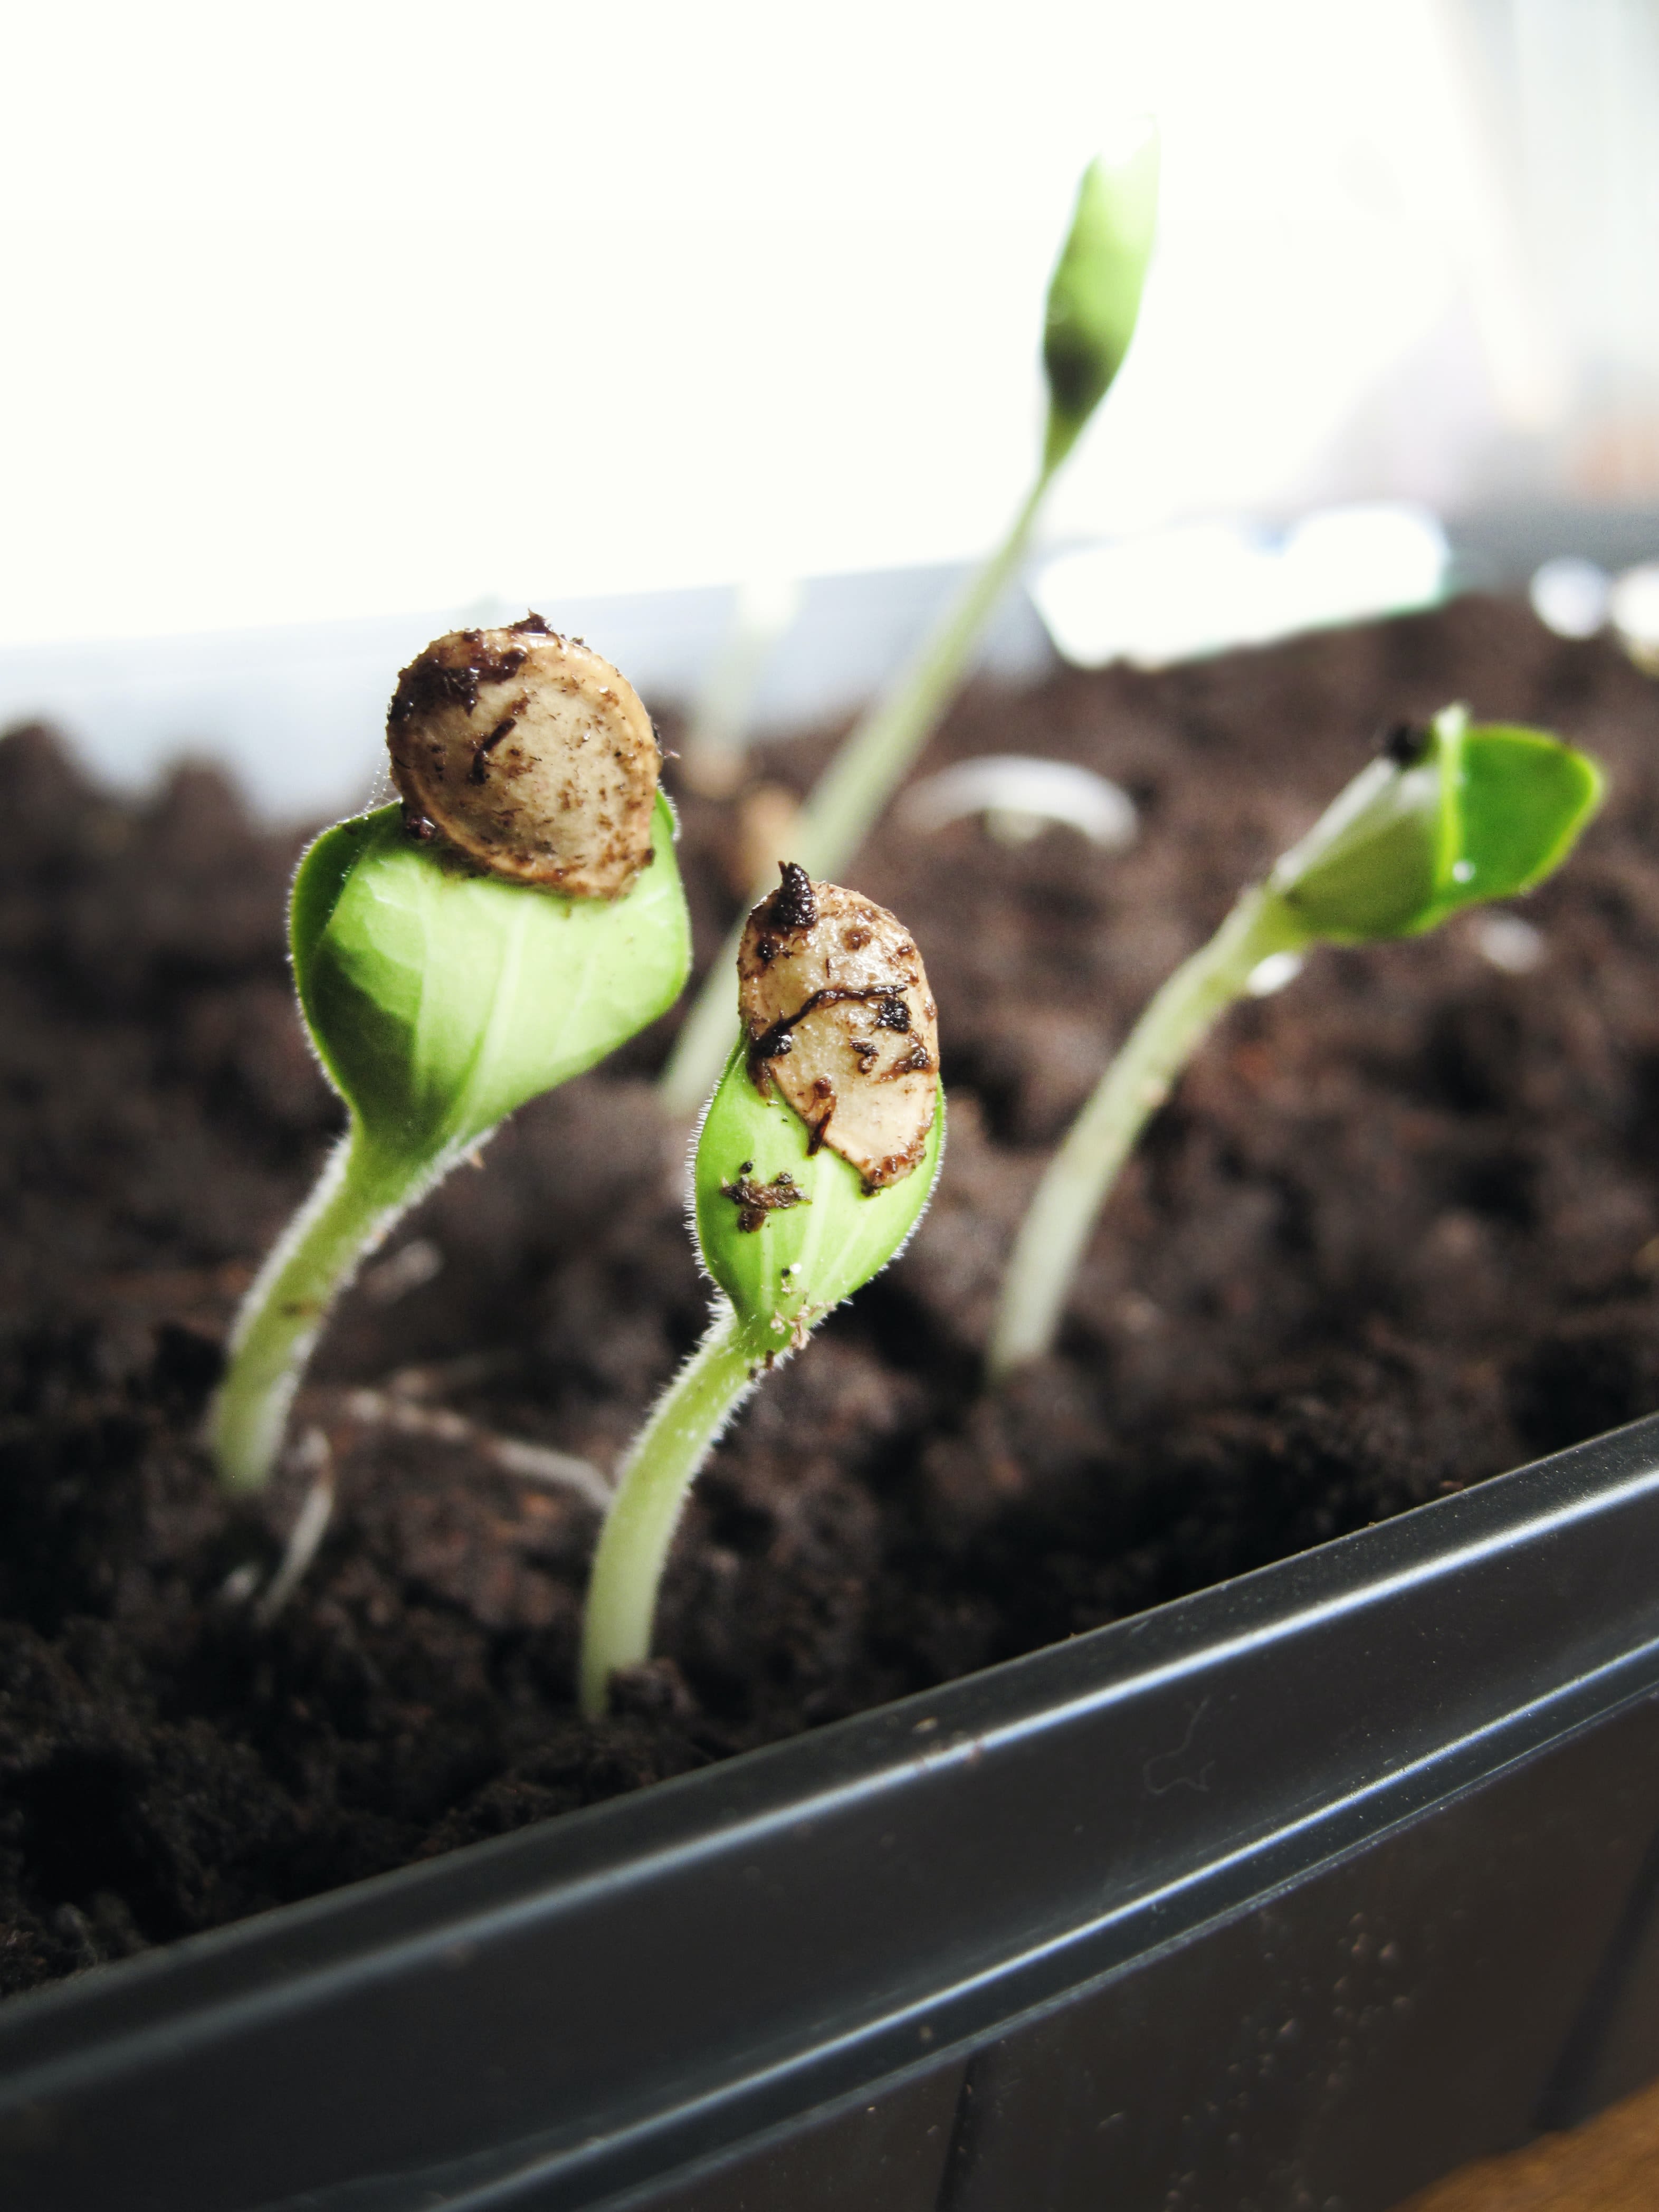
Germination is the process of the embryo emerging from the seed. It starts with the absorption of water, called imbibition. Germination is heavily influenced by four environmental factors: water, oxygen, light and temperature. To aid germination, cover containers with plastic wrap or a bag to retain moisture, but remove it once the seeds sprout. Seedlings need strong, consistent light — provide 16 hours of light daily, with grow lights 2 to 3 inches above them, adjusting as they grow. Without enough light, seedlings can become weak and spindly.
Water is essential for seeds to start growing. Without it, seeds stay dormant. But getting the right amount is key — too much water can cause seeds to rot, while too little can dry them out before they sprout. Keeping the soil consistently moist is important, but heavy watering can wash seeds away or compact the soil. A gentle mist from a spray bottle works best to provide even moisture. Covering seeds with a thin layer of vermiculite or peat moss helps them stay hydrated. To maintain humidity, cover seed trays with a clear plastic dome or loosely place them inside a plastic bag, but remove the covering once seedlings emerge.
Seeds need oxygen to “breathe” as they grow. As seeds begin to sprout, they take in oxygen and release carbon dioxide. If the soil is too heavy or waterlogged, it can block oxygen flow and stop germination. That’s why seed-starting mixes are light and well-draining — garden soil is often too dense for young seedlings.
Some seeds need light to germinate, while others require darkness. Many will sprout just fine either way. Seed packets or catalogs will usually specify what's needed. If a seed needs light, press it gently onto the soil surface without covering it. If it needs darkness, add a thin layer of peat moss or vermiculite on top.
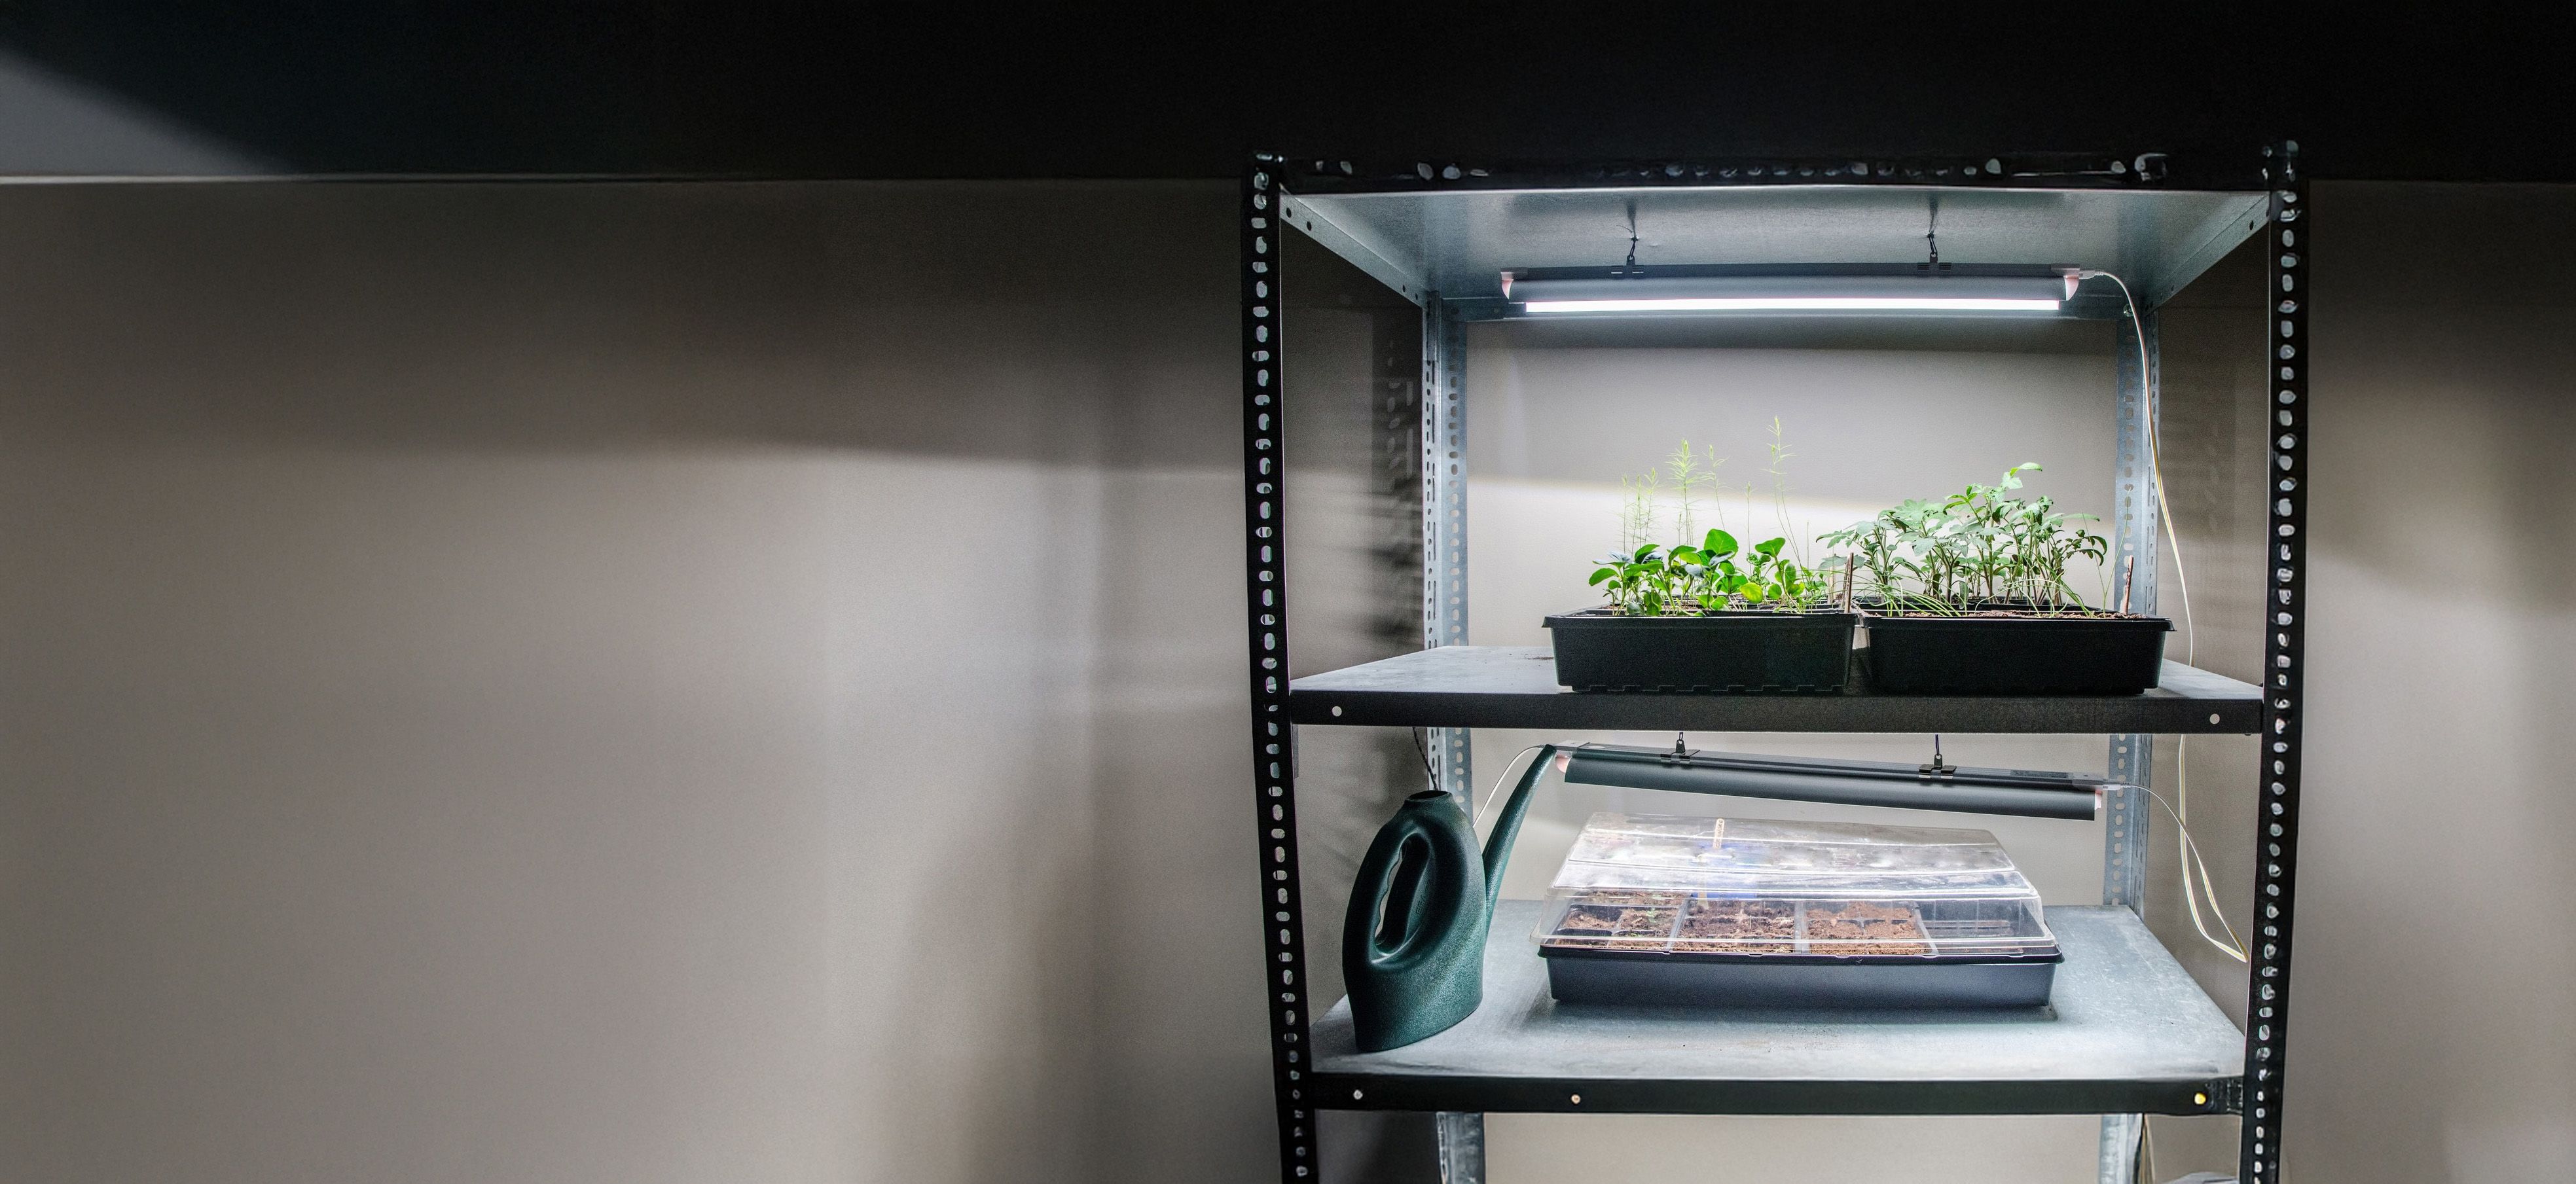
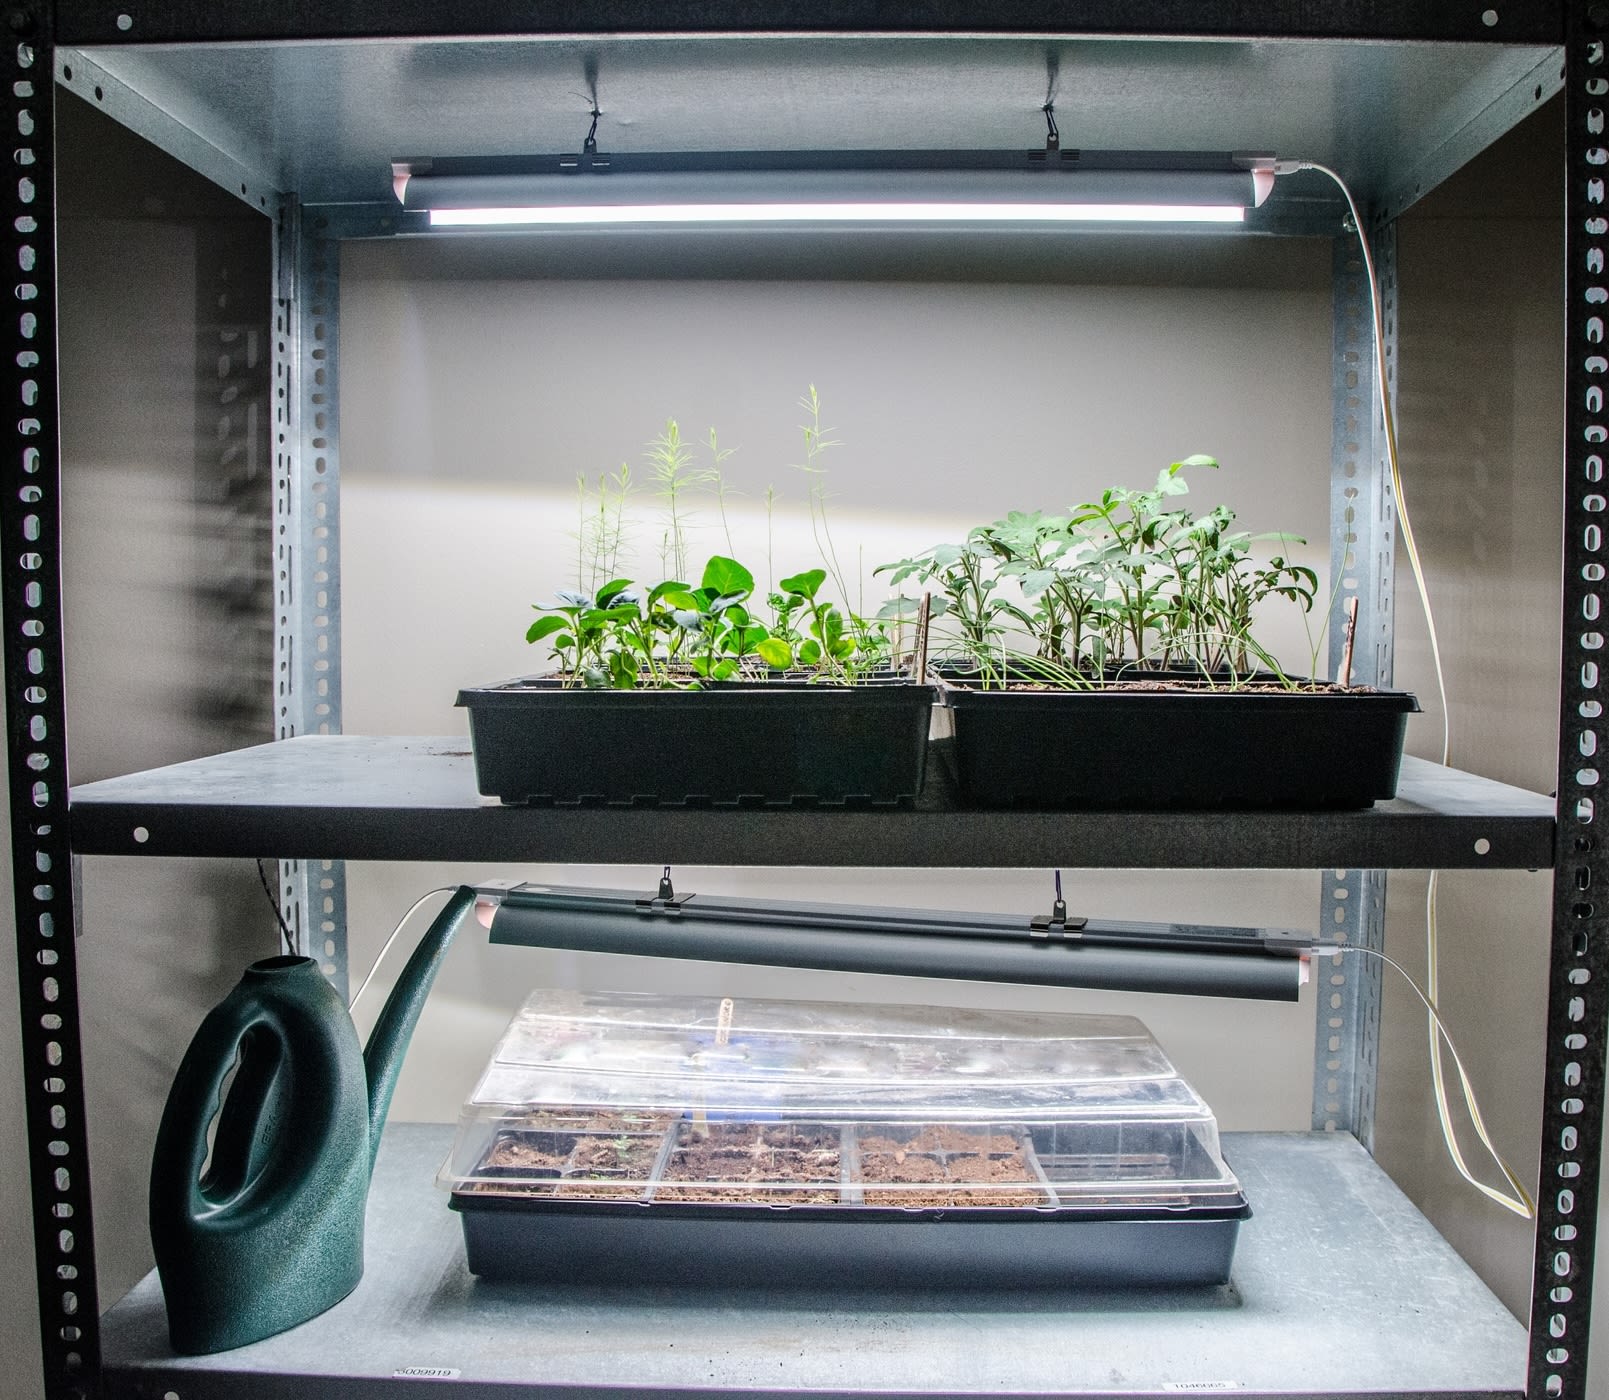
Once seedlings emerge, they need plenty of bright light to grow strong and avoid becoming long and spindly. A sunny windowsill may not provide enough light, especially in winter. Using grow lights can help — position them just a few inches above the seedlings and keep them on for 12 to 16 hours per day. Adjustable LED or fluorescent grow lights work best, as they produce little heat and can be moved as plants grow.
The right temperature helps seeds germinate faster and more successfully. Some seeds have strict temperature needs, while others are more flexible. Most common garden seeds sprout best in soil between 65-75F. You can use a thermometer to check the temperature inside seed trays.
If needed, place trays on a heating mat or in a warm spot in your home, like near a radiator. Once the seeds sprout, move them to a bright area and gradually lower the temperature to 65F to help them grow strong.

Water is essential for seeds to start growing. Without it, seeds stay dormant. But getting the right amount is key — too much water can cause seeds to rot, while too little can dry them out before they sprout. Keeping the soil consistently moist is important, but heavy watering can wash seeds away or compact the soil. A gentle mist from a spray bottle works best to provide even moisture. Covering seeds with a thin layer of vermiculite or peat moss helps them stay hydrated. To maintain humidity, cover seed trays with a clear plastic dome or loosely place them inside a plastic bag, but remove the covering once seedlings emerge.
Seeds need oxygen to “breathe” as they grow. As seeds begin to sprout, they take in oxygen and release carbon dioxide. If the soil is too heavy or waterlogged, it can block oxygen flow and stop germination. That’s why seed-starting mixes are light and well-draining — garden soil is often too dense for young seedlings.
Some seeds need light to germinate, while others require darkness. Many will sprout just fine either way. Seed packets or catalogs will usually specify what's needed. If a seed needs light, press it gently onto the soil surface without covering it. If it needs darkness, add a thin layer of peat moss or vermiculite on top.
Once seedlings emerge, they need plenty of bright light to grow strong and avoid becoming long and spindly. A sunny windowsill may not provide enough light, especially in winter. Using grow lights can help — position them just a few inches above the seedlings and keep them on for 12 to 16 hours per day. Adjustable LED or fluorescent grow lights work best, as they produce little heat and can be moved as plants grow.
The right temperature helps seeds germinate faster and more successfully. Some seeds have strict temperature needs, while others are more flexible. Most common garden seeds sprout best in soil between 65-75F. You can use a thermometer to check the temperature inside seed trays.
If needed, place trays on a heating mat or in a warm spot in your home, like near a radiator. Once the seeds sprout, move them to a bright area and gradually lower the temperature to 65F to help them grow strong.

Seedlings need bright light to grow strong and avoid becoming spindly. A sunny window may not be enough, especially in winter. Use adjustable LED or fluorescent grow lights, keeping them a few inches above seedlings for 12 to 16 hours daily.
Seedlings need bright light to grow strong and avoid becoming spindly. A sunny window may not be enough, especially in winter. Use adjustable LED or fluorescent grow lights, keeping them a few inches above seedlings for 12 to 16 hours daily.
5. Getting plants ready for growing outdoors
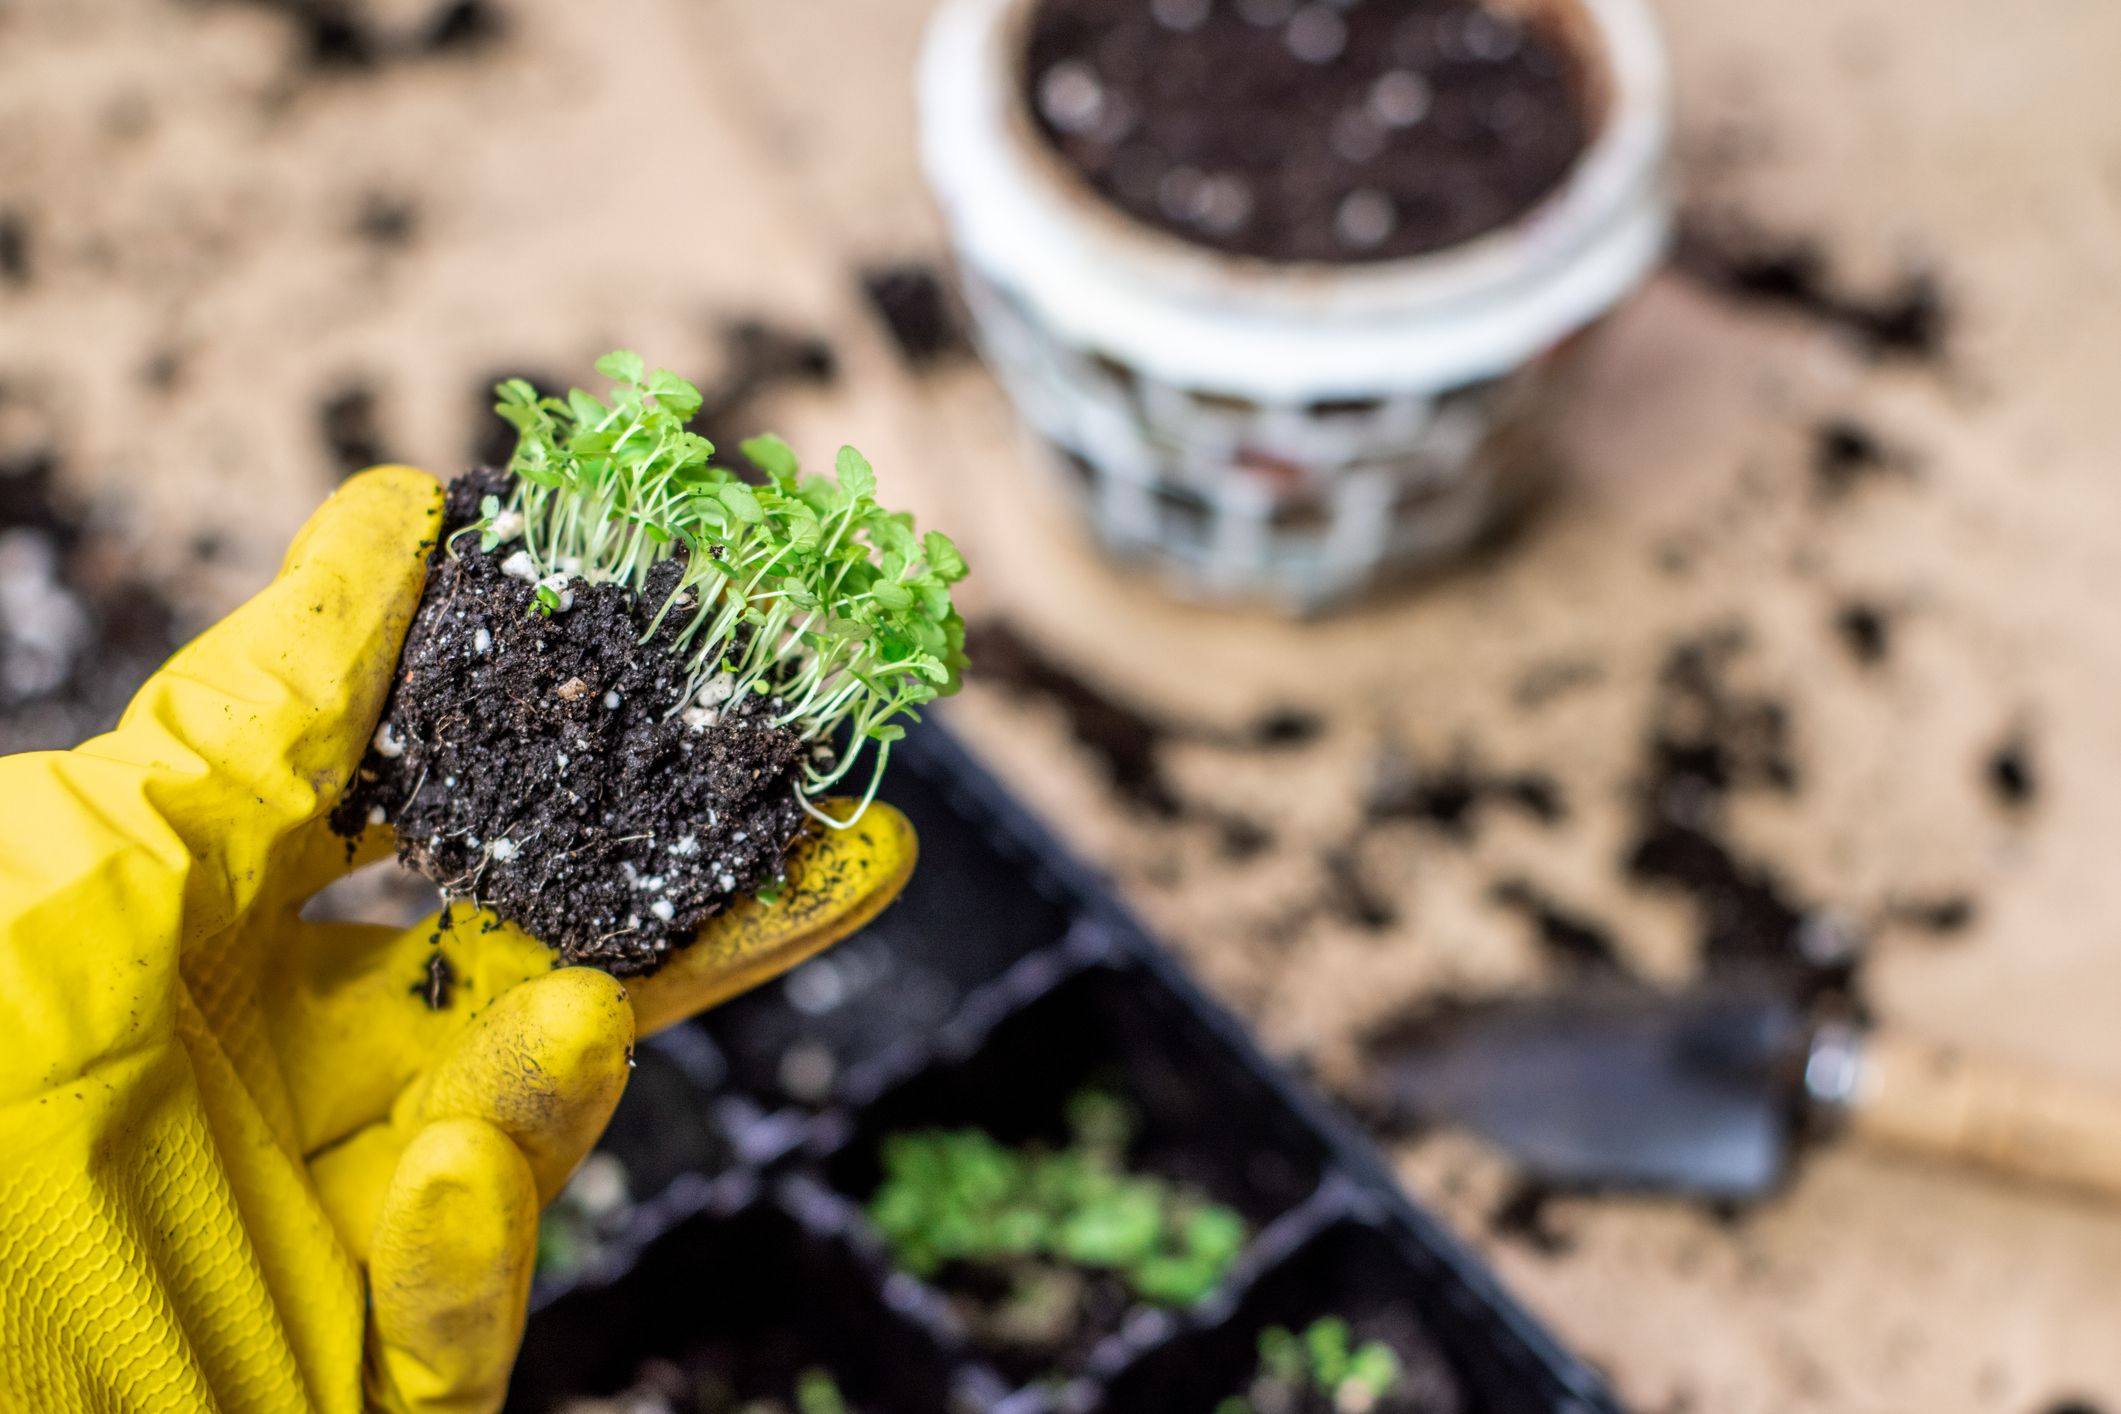
Make sure to thin seedlings before transplanting. When starting seeds, gardeners often plant more than needed to ensure that enough germinate. However, once seedlings emerge — especially tiny ones like carrots — they must be thinned to prevent overcrowding. Without enough space, plants compete for water, light, and nutrients, which can stunt growth or even cause death. Check seed packets for proper spacing and remove extra seedlings by snipping them at the base rather than pulling them out.
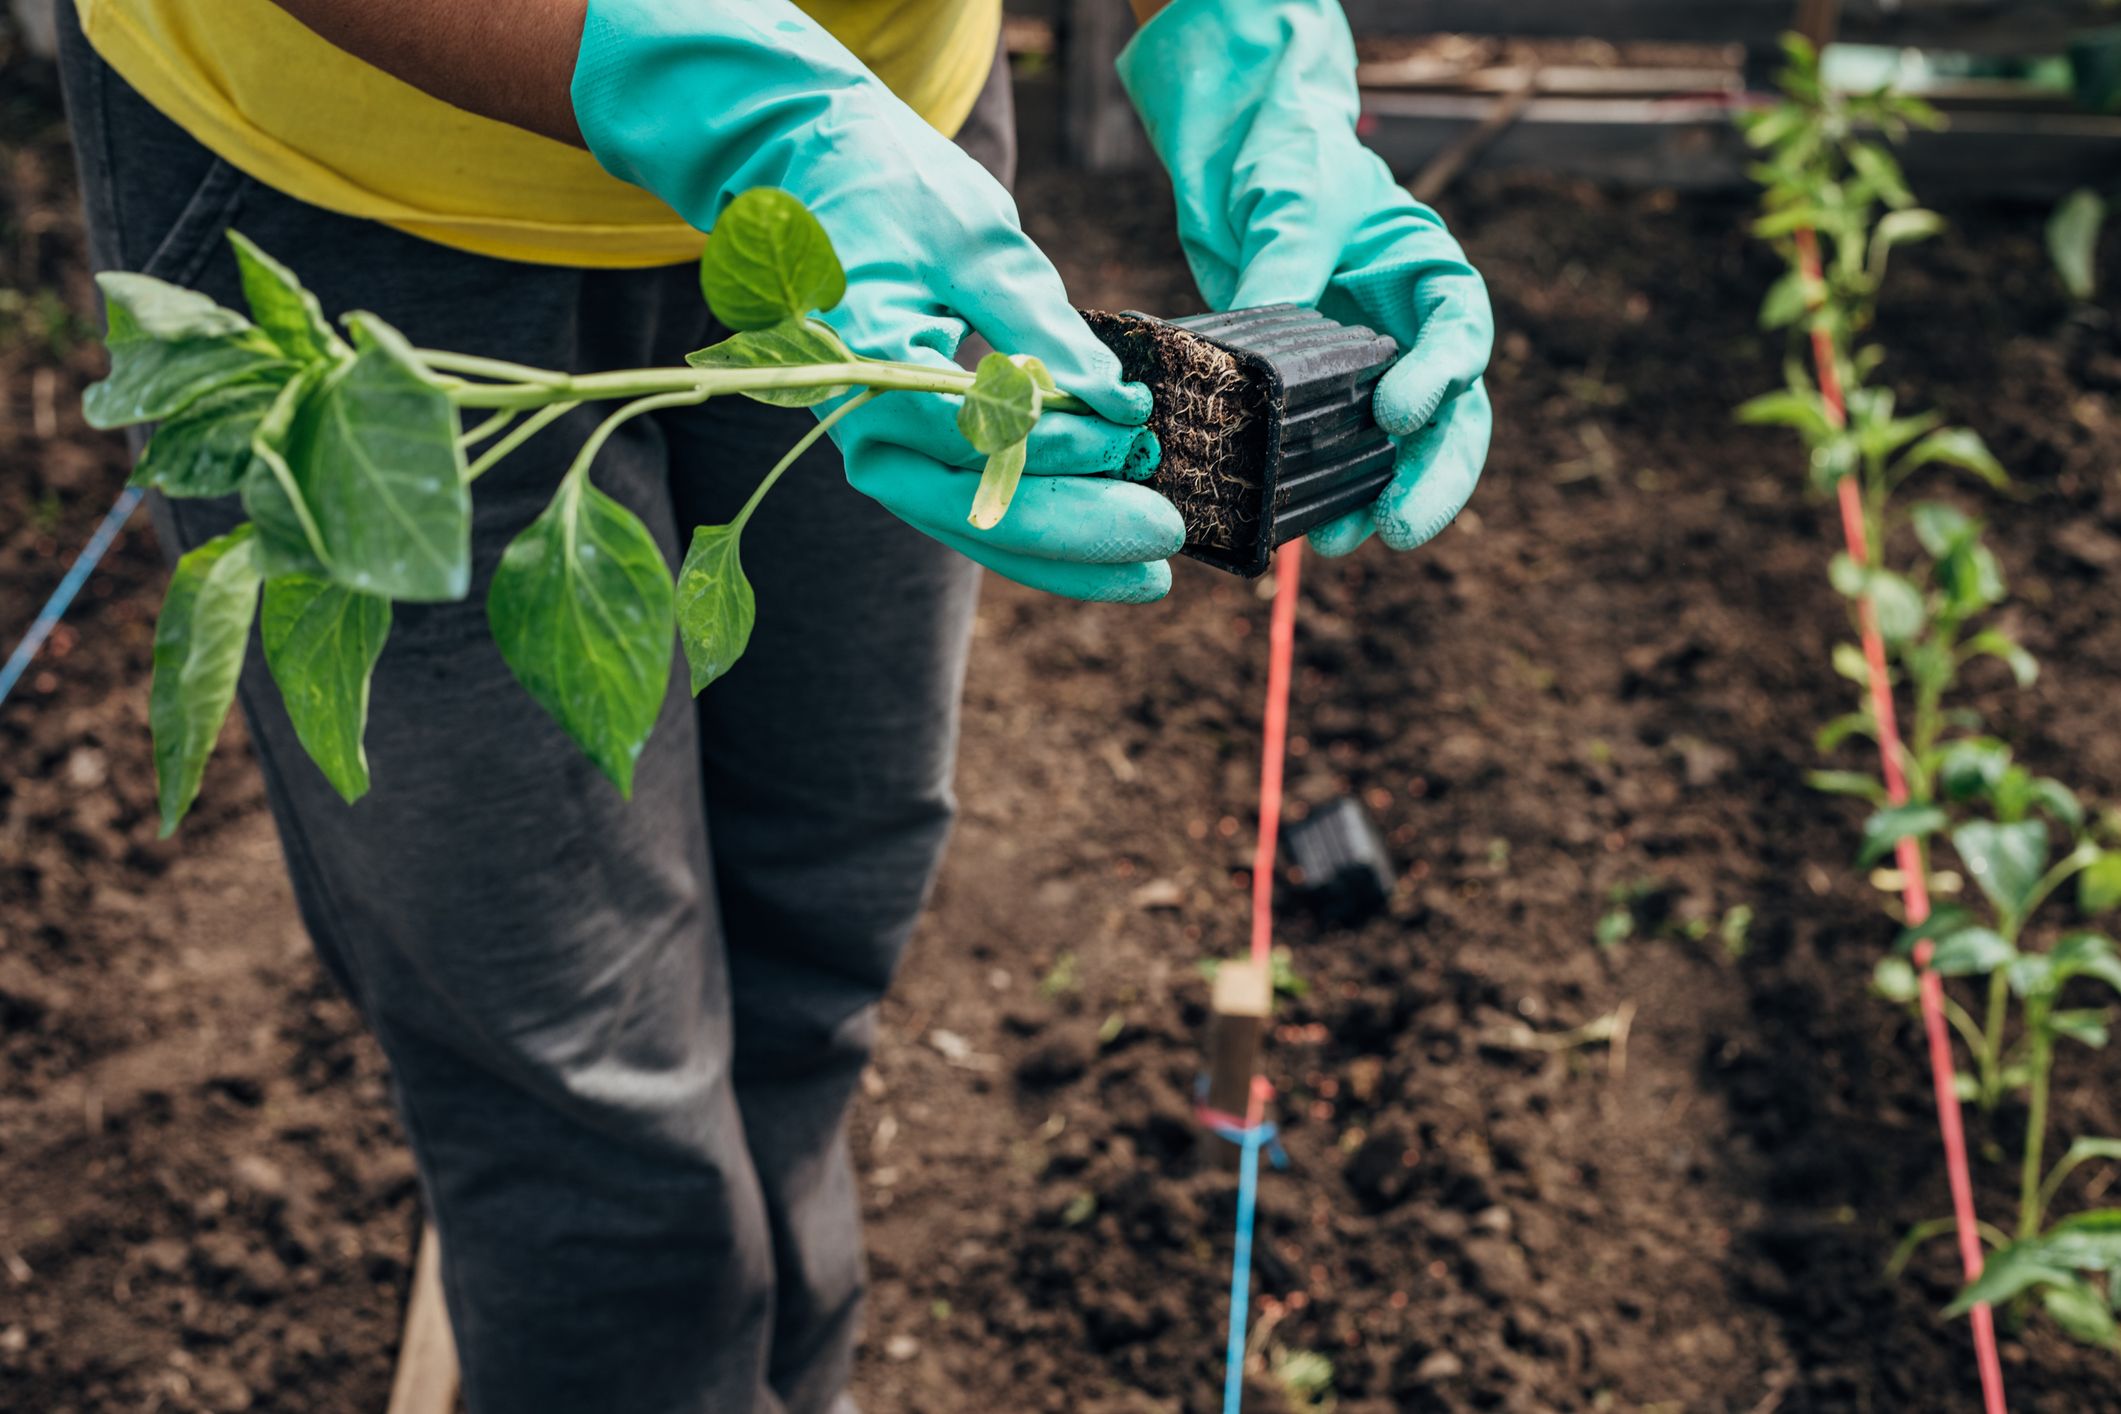
Once seedlings develop their first true leaves, they can be transplanted into larger containers or the garden. Carefully lift them by the roots using a pencil or dibble tool — never tug by the stem, as this can damage the plant. Place seedlings at the same depth they were growing before, water thoroughly and check moisture levels daily, especially if they’re under grow lights or on a heat mat.
For healthy growth, fertilize transplants lightly — starting at half the recommended strength — and repeat every two weeks. Avoid fertilizing wilted or moisture-stressed plants, as this can cause further damage.
Before moving seedlings outdoors, they need time to adjust to direct sunlight and changing temperatures. This process, called hardening off, helps strengthen plants for life in the garden. Start by placing them in a shady outdoor spot for a few hours each day, gradually increasing their time outside over one to two weeks. On cooler days, reducing temperature and water can also help prepare them for outdoor conditions. A slow transition prevents stress and ensures seedlings thrive once planted in the garden.
Plant the seedlings in the ground or in raised garden beds. Locate the garden in an area that will have at least six to eight hours of sunlight per day. Till the bed to a depth of 6 to 10 inches, incorporating 4 inches of good organic matter into the mix. Remove any sticks and stones. Smooth the soil with a rake and plant seedlings according to their spacing requirements listed on the seed packet.
Some plants, like tomatoes and peppers, benefit from deeper planting. Bury tomato stems up to the first set of leaves or lay them sideways with the leaves above soil level to encourage strong root growth. Water newly transplanted seedlings well for the first few weeks as they become established.
Give starting seeds a try this season. Starting seeds indoors gives you the flexibility to grow a variety of plants while saving money. With just soil, light, water, seeds and time, you can get a jumpstart on your spring garden. Pick a couple of vegetables you enjoy eating and consider your space, schedule and goals to decide if indoor seed starting is the right fit for you.
Plant extra seeds for better germination, but thin seedlings once they emerge to prevent overcrowding. Snip excess seedlings at the base to avoid disturbing roots, and check seed packets for proper spacing.
Plant extra seeds for better germination, but thin seedlings once they emerge to prevent overcrowding. Snip excess seedlings at the base to avoid disturbing roots, and check seed packets for proper spacing.

Harden off seedlings before planting by gradually exposing them to sunlight and outdoor conditions over one to two weeks. Start in the shade for a few hours, then increase time outside to prevent stress and ensure strong growth.
Harden off seedlings before planting by gradually exposing them to sunlight and outdoor conditions over one to two weeks. Start in the shade for a few hours, then increase time outside to prevent stress and ensure strong growth.
Once your plants are hardened off and ready to go in the ground, check the seed packet for proper spacing as mature plants often need more room than you’d expect. Ensure the soil is soft and loose to promote airflow, water infiltration and healthy root growth.
Once your plants are hardened off and ready to go in the ground, check the seed packet for proper spacing as mature plants often need more room than you’d expect. Ensure the soil is soft and loose to promote airflow, water infiltration and healthy root growth.
Quick guide for starting seeds
- Select a sanitized container that provides adequate drainage and is deep enough for root growth.
- Fill the container with moistened, sterile seed-starting mix and firm the surface.
- Check the seed package for the recommended planting depth.
- Make shallow indentations in the soil and sow the seeds evenly.
- Lightly water the surface, then place the container in a warm location away from direct sunlight.
- As seeds germinate, move the seedlings to a well-lit area, such as under fluorescent lights.
- The cotyledons (seed leaves) will emerge first.
- Once two or three true leaves appear, transplant seedlings into flats or small pots filled with moist potting soil. Keep the soil evenly moist.
- Allow plants to develop several more sets of true leaves. Keep grow lights 2 to 3 inches above the seedlings, adjusting as needed.
- When plants reach the desired size, begin the hardening off process to prepare them for outdoor planting.
- Water transplants thoroughly after planting and continue to water consistently for several weeks.

More home vegetable gardening stories

Starting a garden from scratch

Your ultimate guide to healthy garden soil
News media may republish this story. A text version and art are available for download.